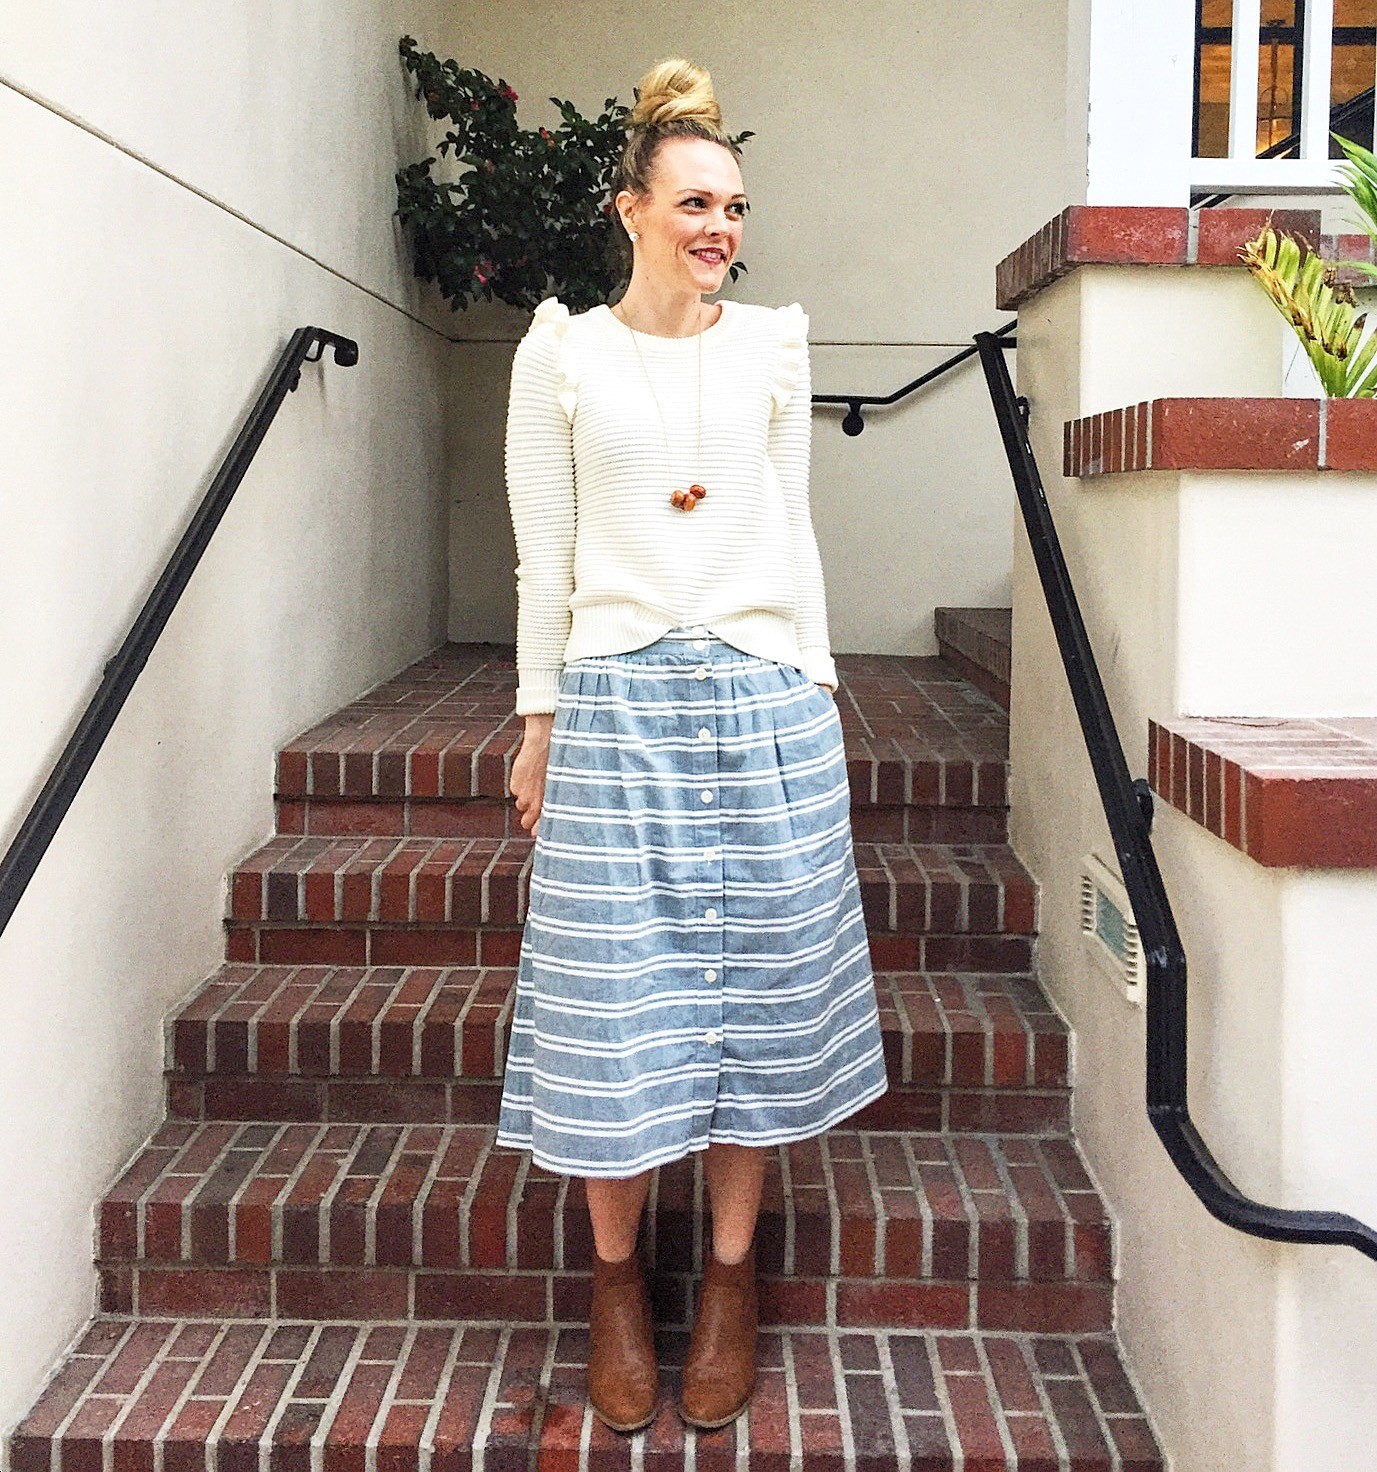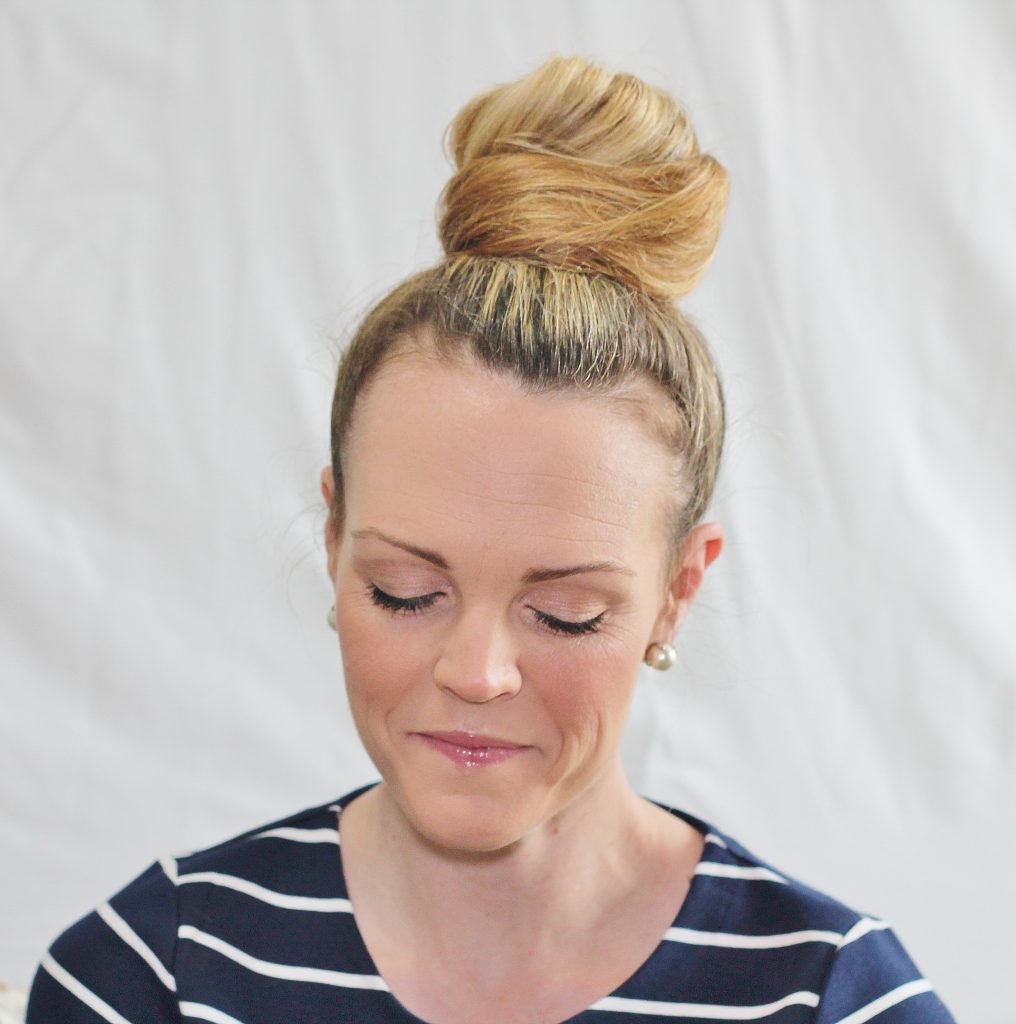
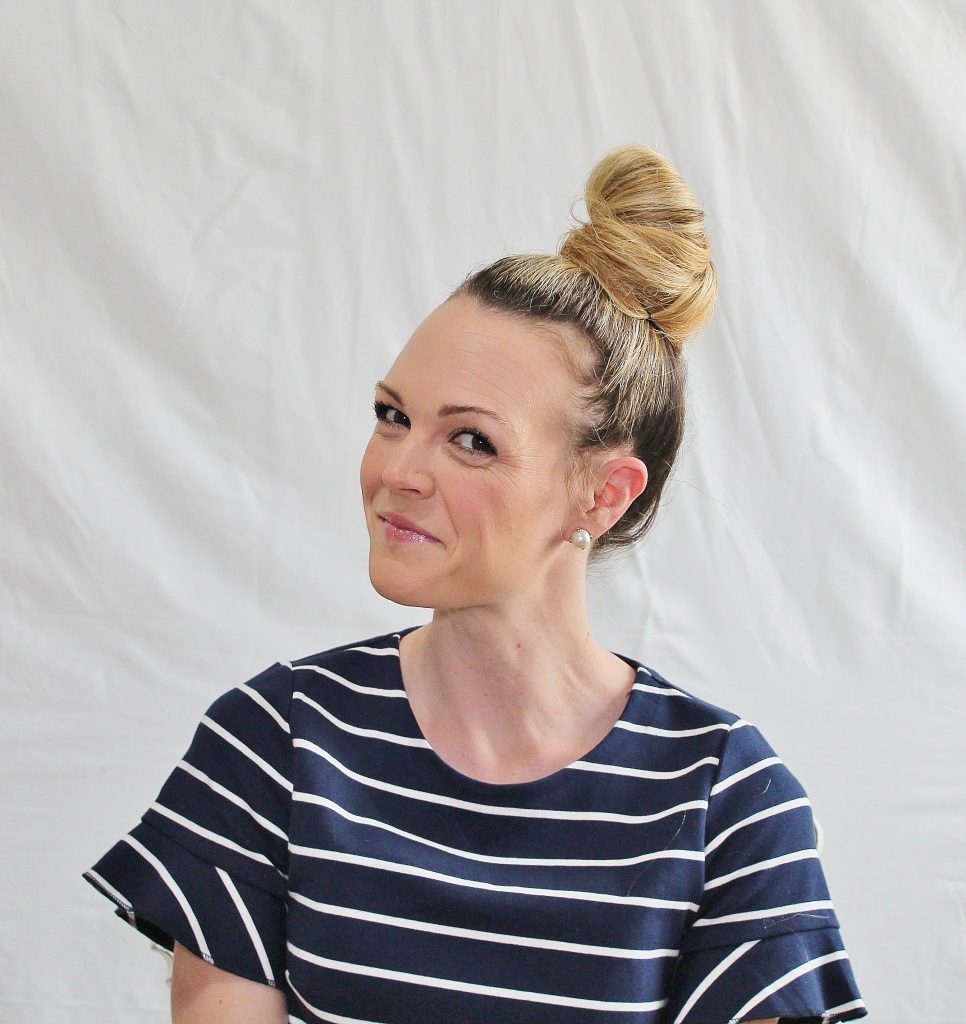
i have a few go-to hairstyles in my repertoire when i’m on the last legs of my weekly hair wash. if i’m not at work, it’s an easy decision -i throw a hat on and call it a day. but if it’s during office hours, i have to be a bit more strategic. for the past year, i’d say the mvp of my hairstyle arsenal was the standard side braid; polished enough for the office, but playful enough for an effortless weekend look. but after relying on it heavily in the summer months (pre-air conditioning installation), i started experimenting with other styles to buy me time in between shampoos -including a take on the ever popular “sock bun.” after years of terribly tight updos for homecoming dances and ballet performances, i’ve never been one to love all of my hair pushed off my face (i have a complex with my forehead). but now that i feel like my face shape has transformed a bit from my high school days, i’m finding that i look and feel quite elegant when i sport what i like to call the “carried bradshaw bun.” i used to think epic buns required old cut-up socks or tons of hair spray but somehow i’ve managed to come up with a top knot formula that is pretty fool-proof and time efficient. i’ve listed the steps below and posted a quick time-lapse video on instagram. enjoy!
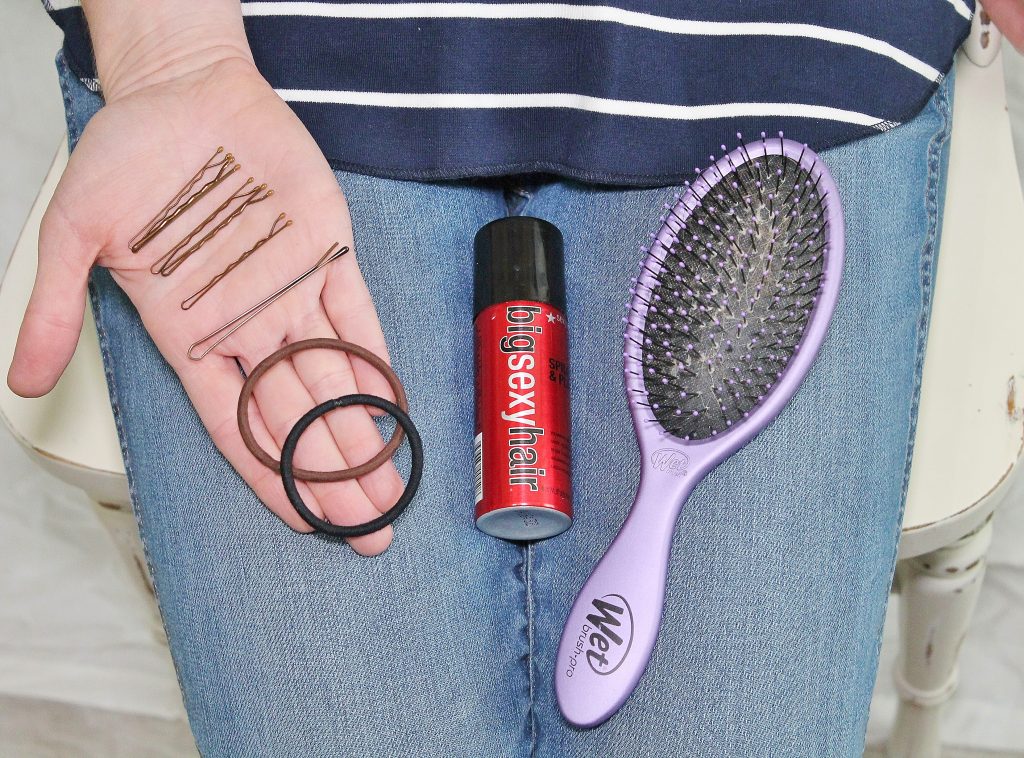
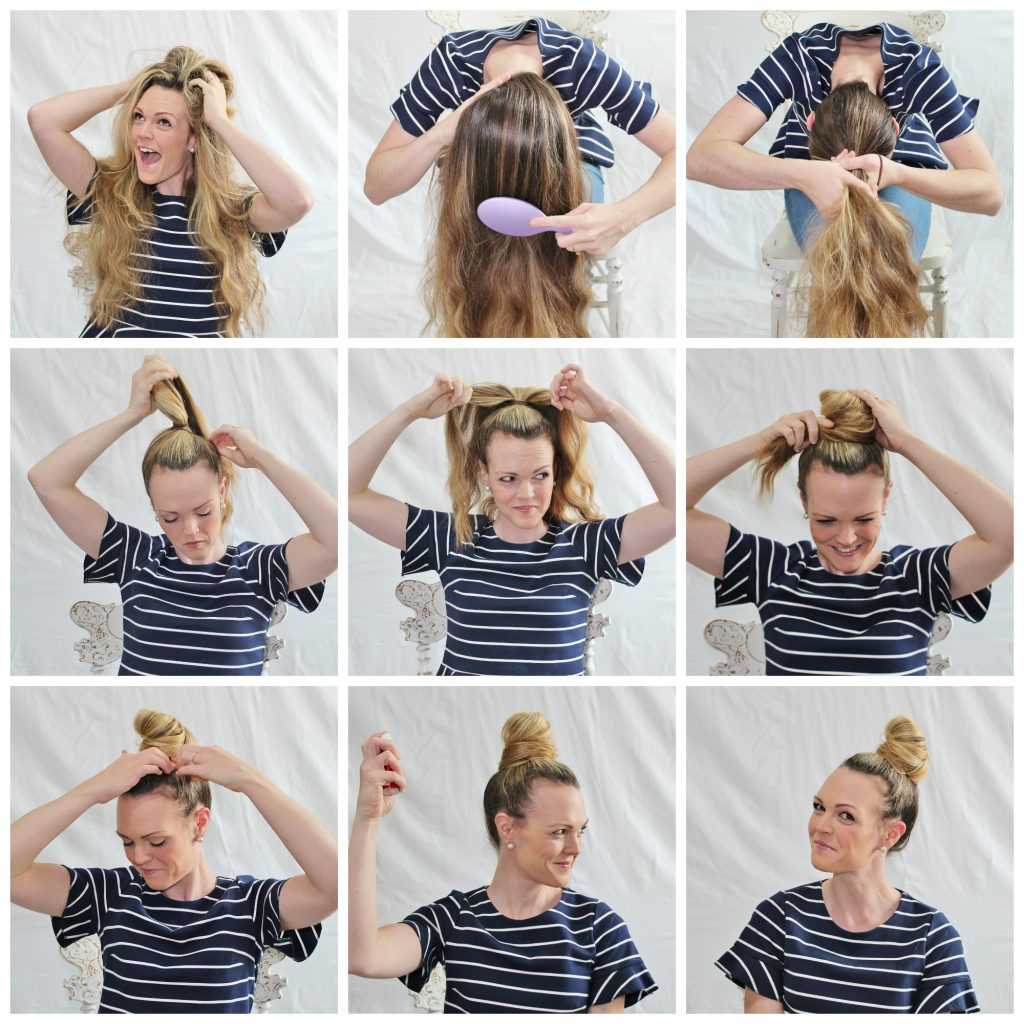
first of all, i start with dirty hair. i mean, the “i haven’t washed it in five or six days” kind of dirty. additionally, i grab my favorite hair brush, two hair ties, and handful of bobby pins. i will note one thing about the texture of my hair –it’s thick and there’s a lot of it, hence the reason for the volume of the bun itself. if your hair texture is different than mine, you could always add in a few extension pieces for bulk. also, i highly recommend starting this process after you put your shirt on (unless you’re wearing a button-down). i have knocked off many a perfect carrie bun just by trying to maneuver my head through the tiny neck hole.
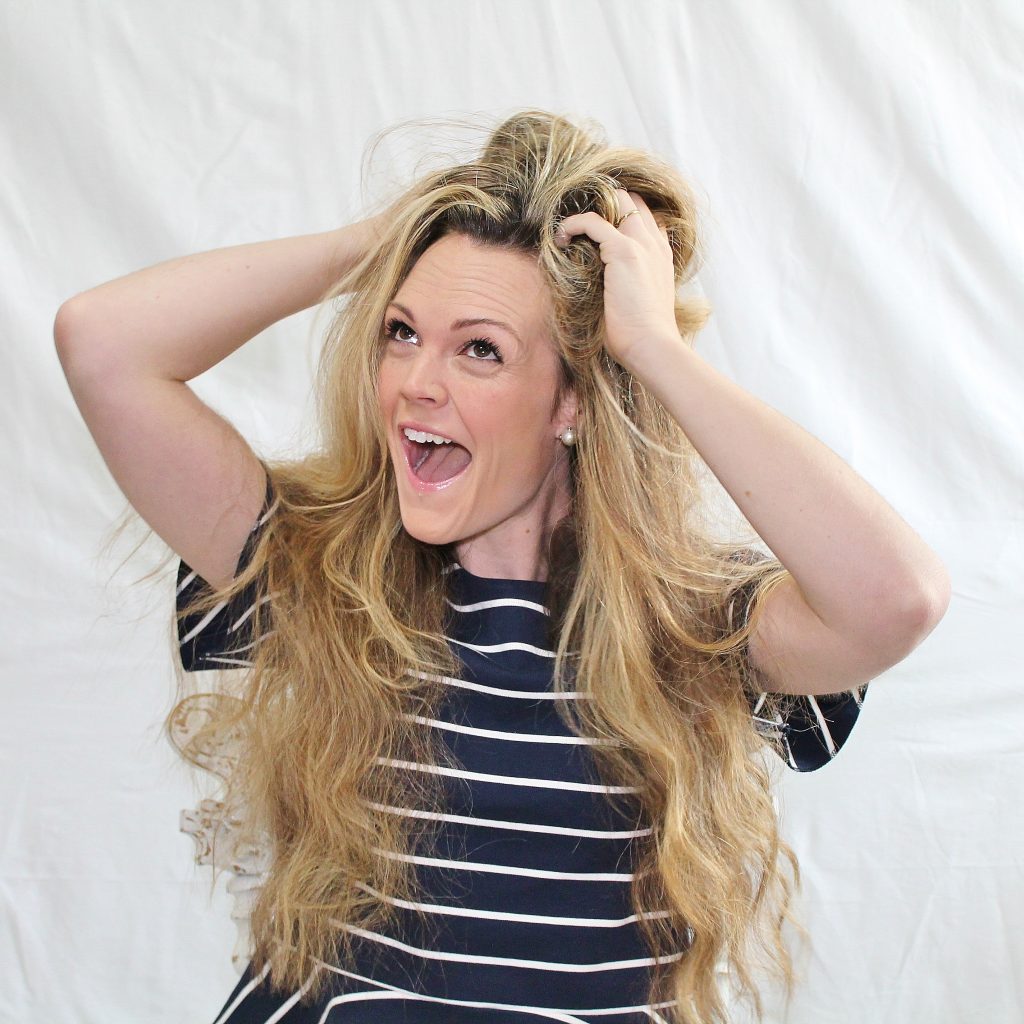
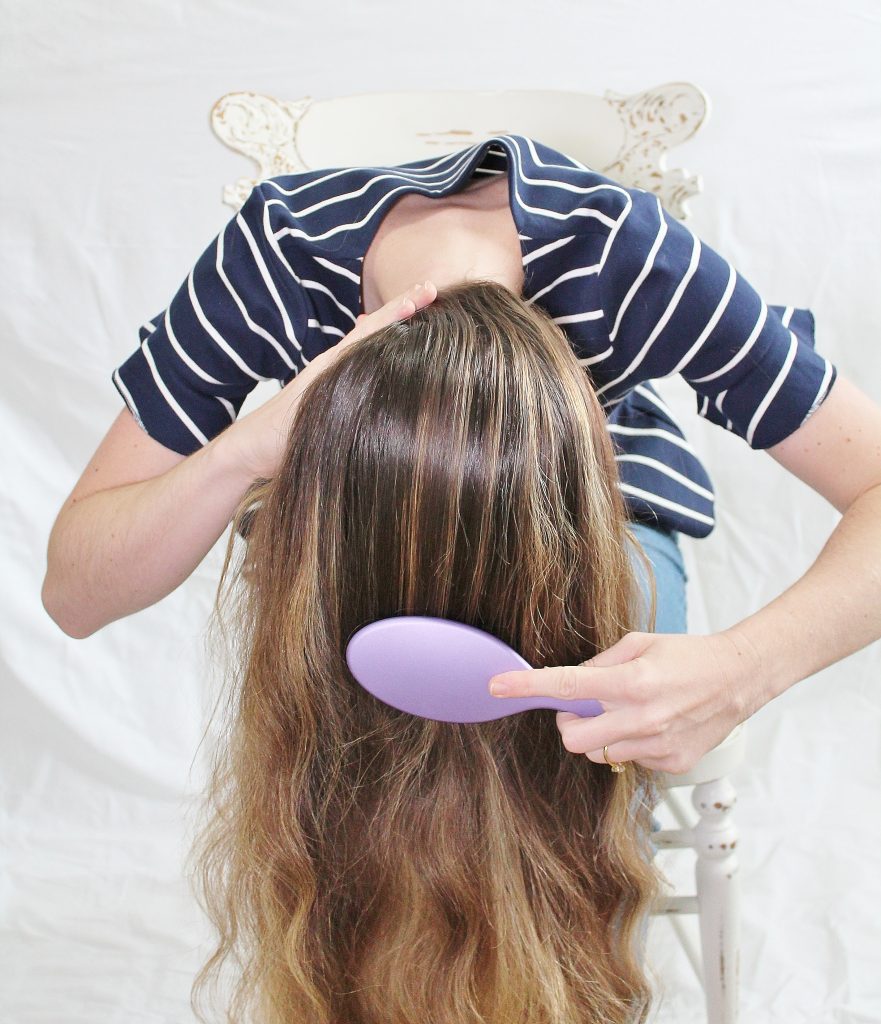
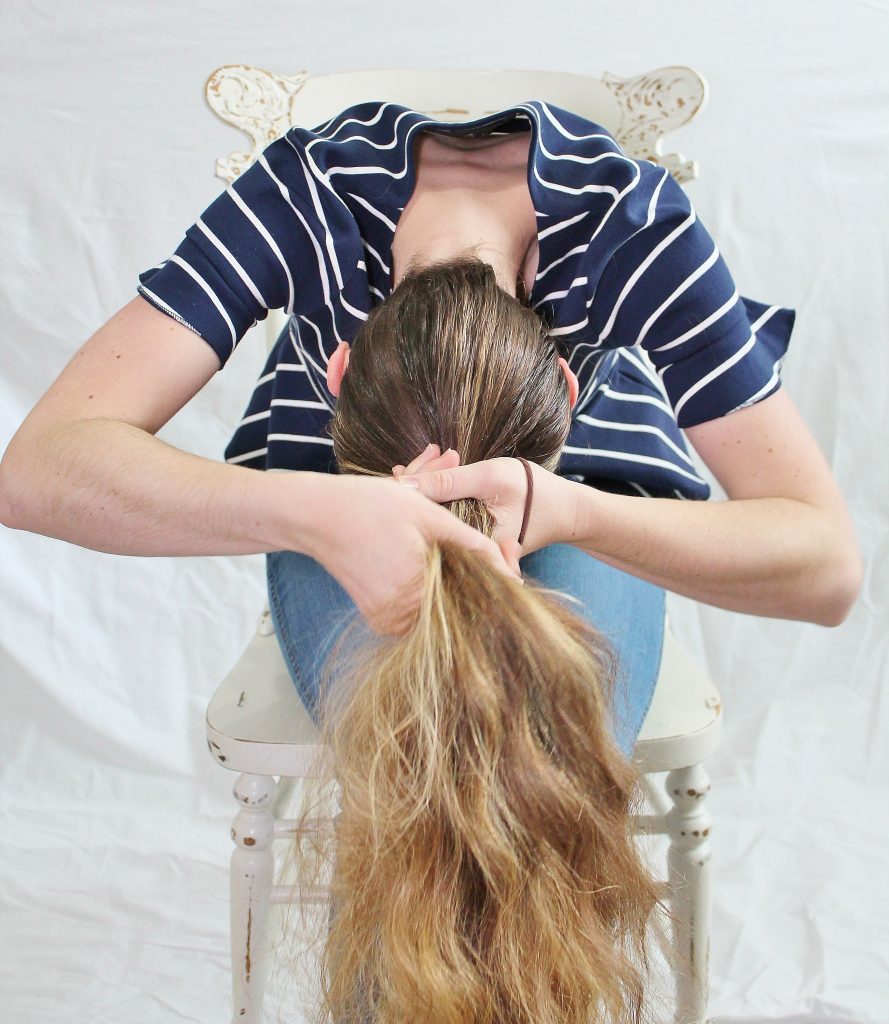
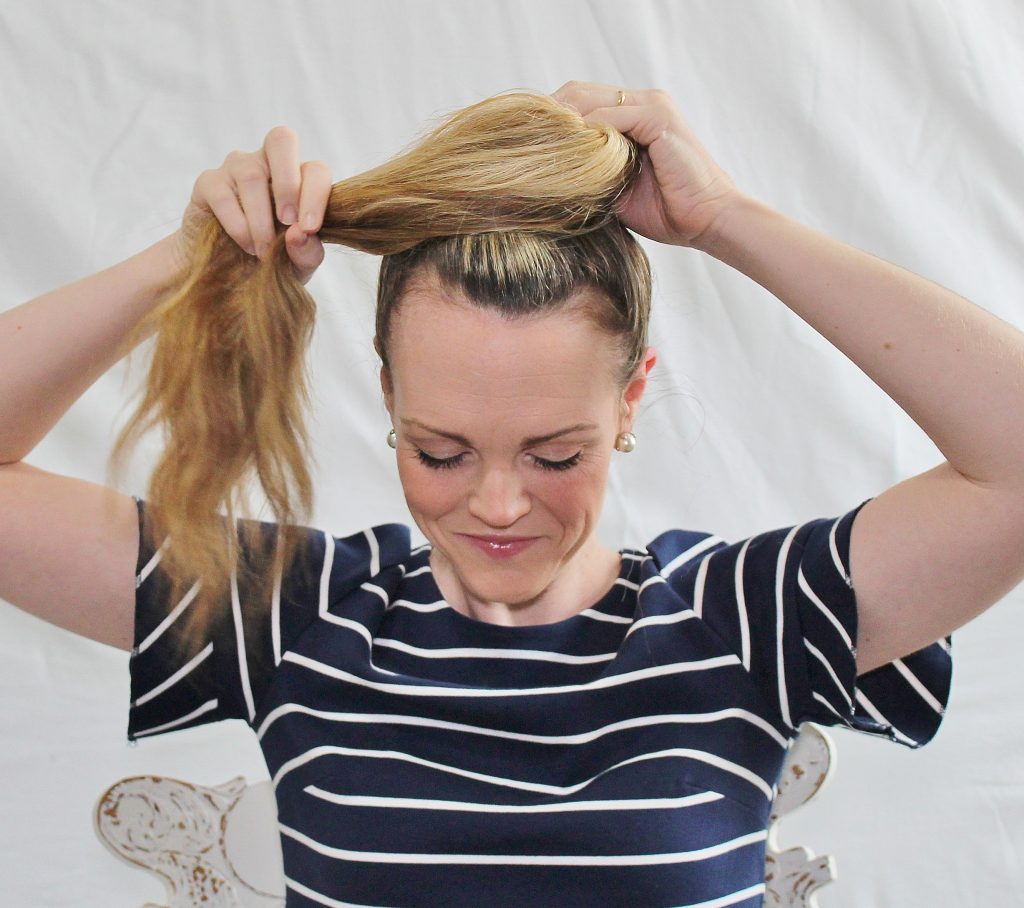
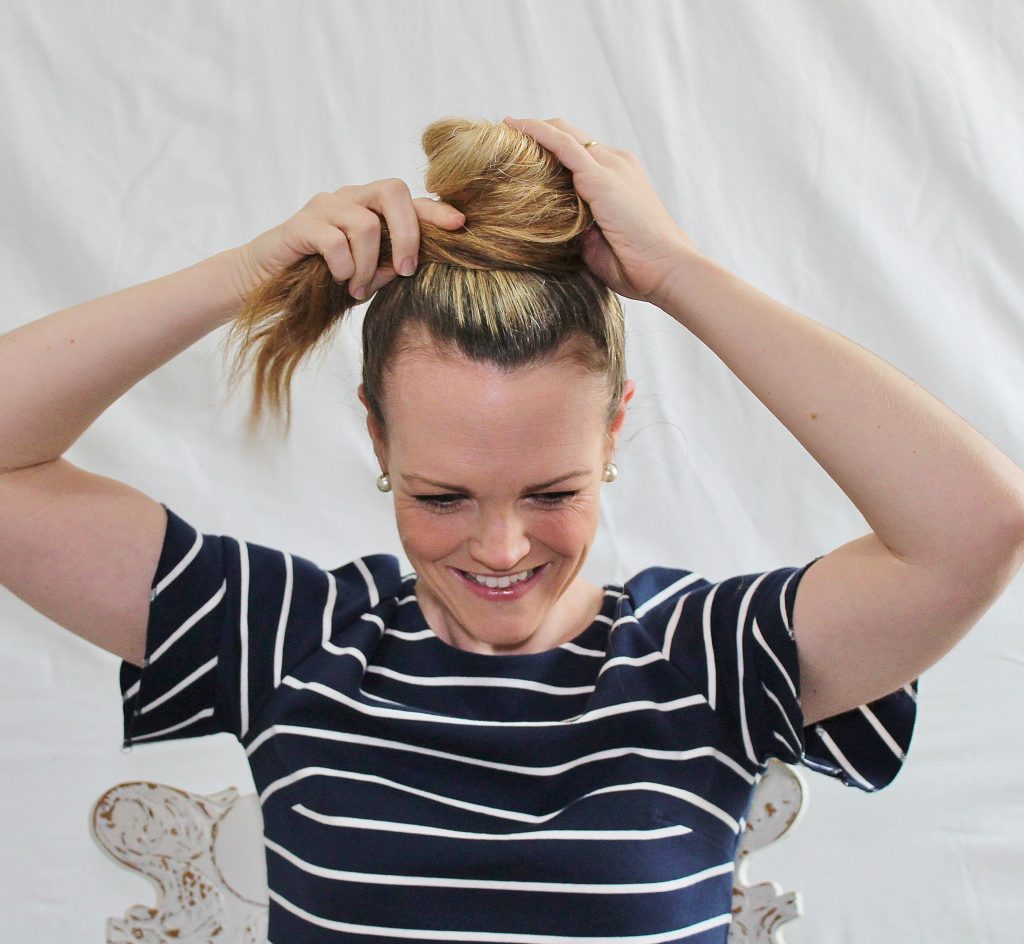
step one || i flip my head over and gather my hair on top of my head. with the brush and my finger tips, i brush the back of my head in an upward motion to ensure that any bumps are ironed out. i flip my head back over with one hand tightly gripped around the hair on top of my head and secure it with one of the hair ties so that it sits slightly closer to the crown.
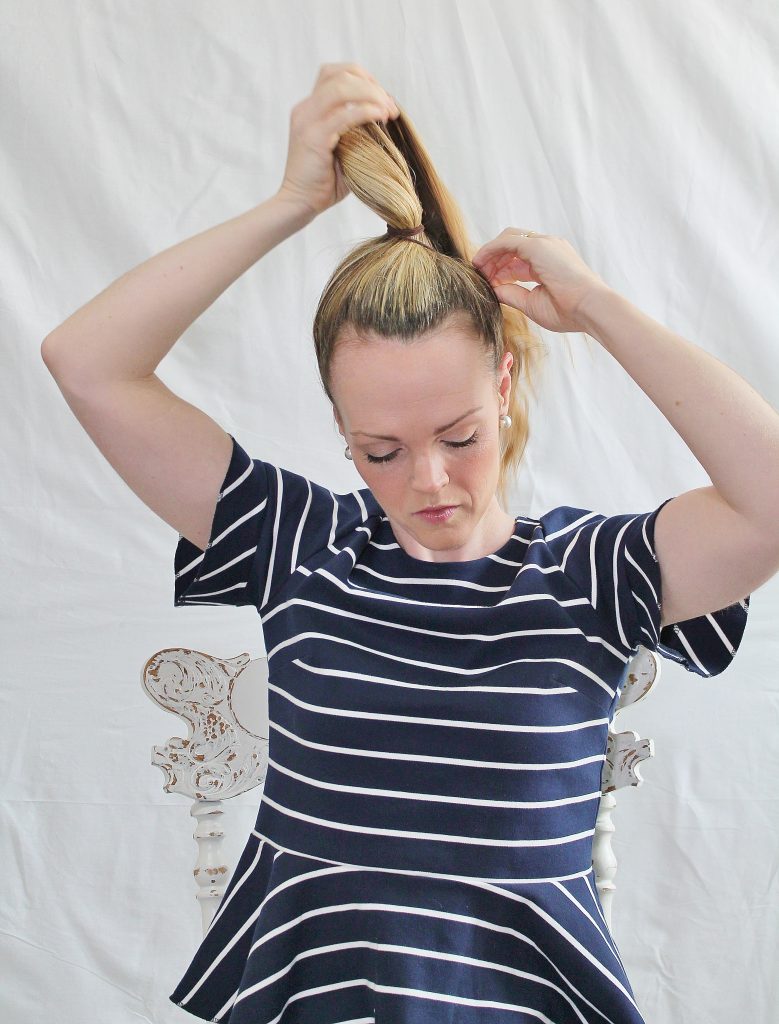
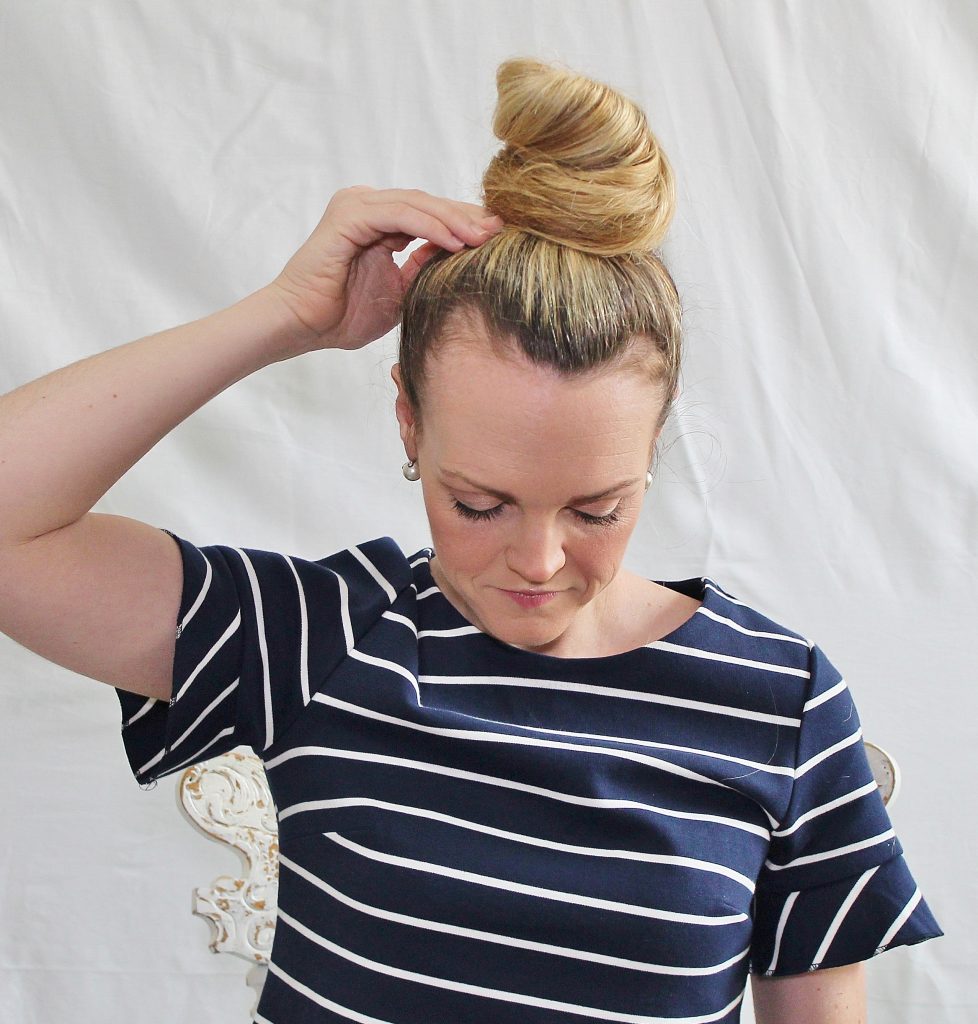
step two || after giving the pony tail a snug pull to tighten it, i start to wrap the loose hair around itself at the base. i do this slowly and fairly loosely to achieve a more voluminous bun (which i prefer). i am still growing out some of my layers, so occasionally some of the shorter ends stick out during this process. don’t worry, you can always tack them down with extra bobby pins at the end.
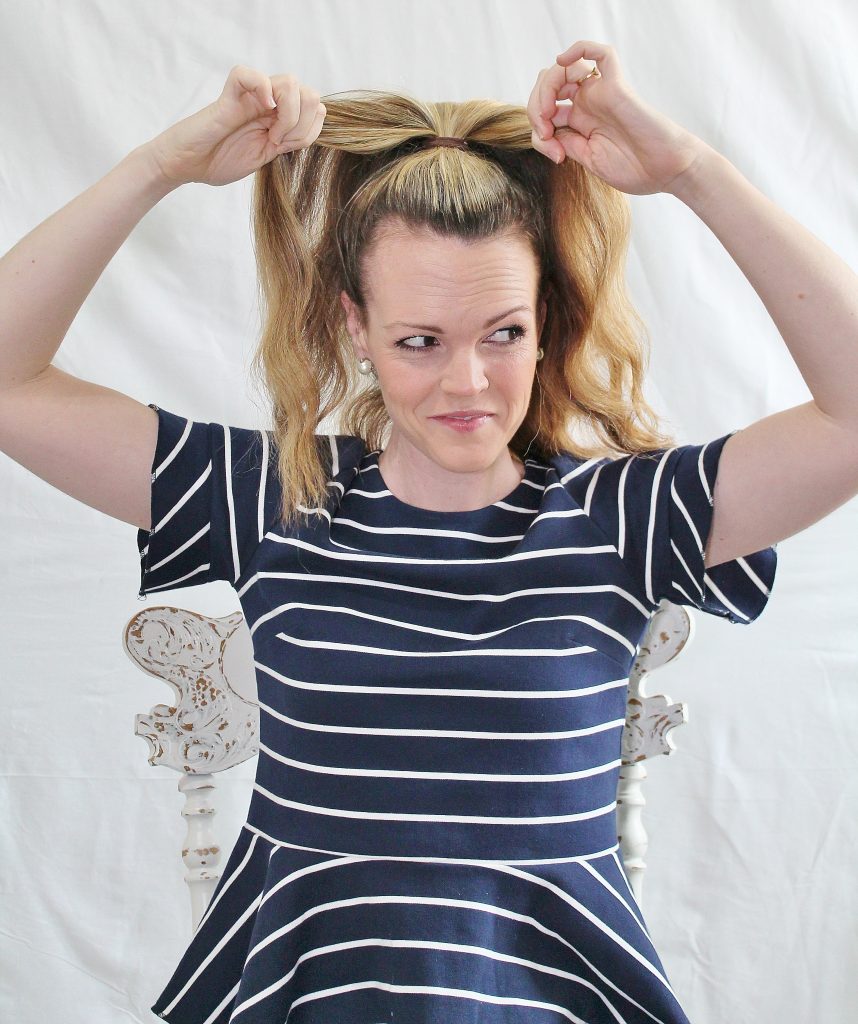
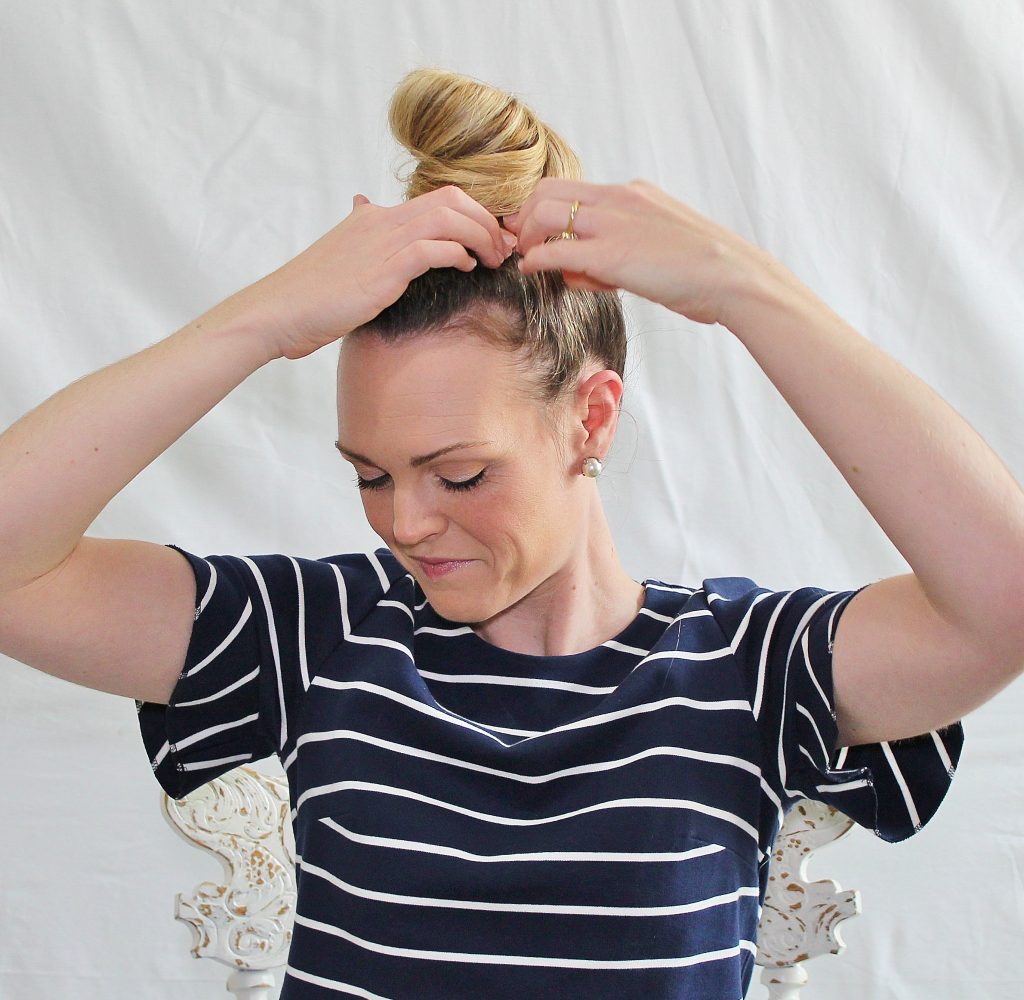
step three || once all the hair has been wrapped around itself, the bun should now resemble, well, a bun. it’s time to secure it. from here you can one of two things -you can simply tack down the loose hairs with a few strategically placed bobby pins or you can use your second hair tie and wrap it around the entire bun twice to ensure a tighter fit. either way, i use about 3-4 bobby pins to adhere the original pony tail hair to my scalp.
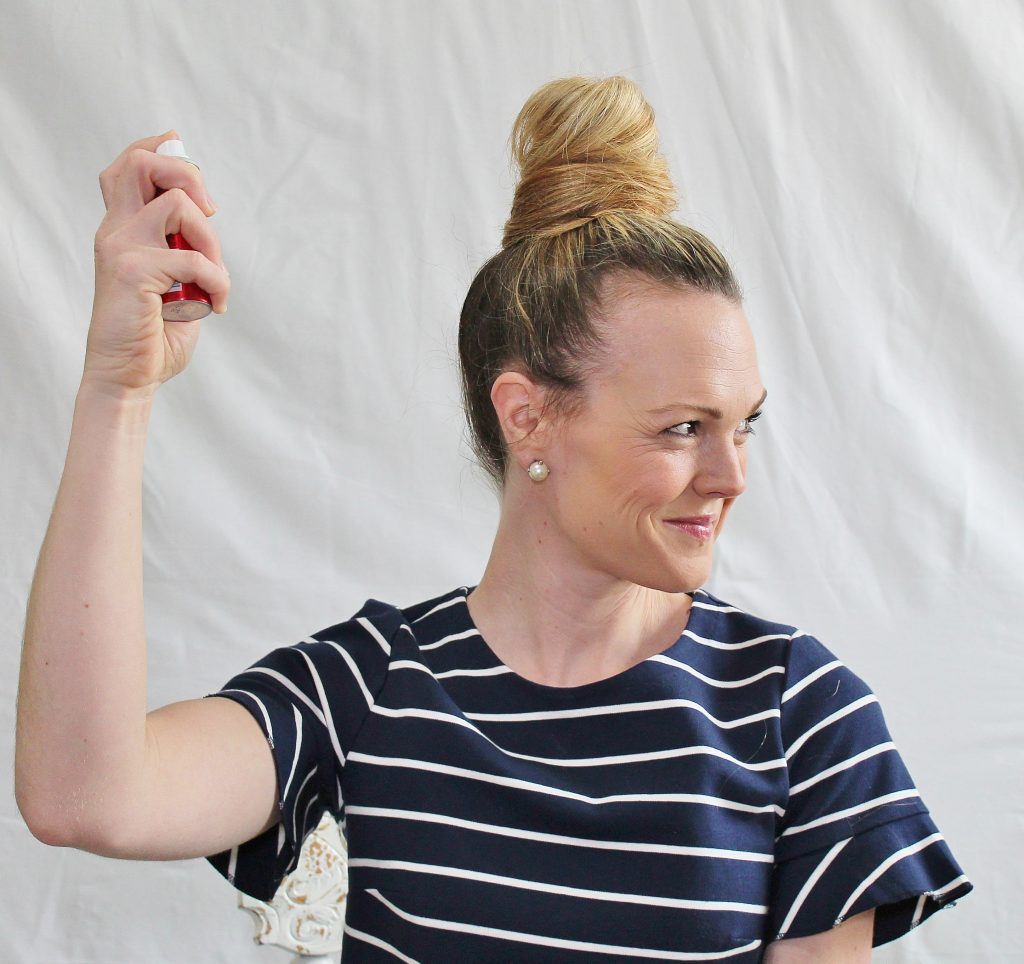
step four || most days i actually go without hairspray, but if it happens to be particularly windy that day or the fly aways are more out of control than usual, i’ll quickly spray the the bun itself as well as the back of my head to ensure any baby hairs don’t curl at the nape (fun fact: i had ringlets as a baby so sometimes they pop up at inopportune times).
voila! that’s it. pretty easy, right?
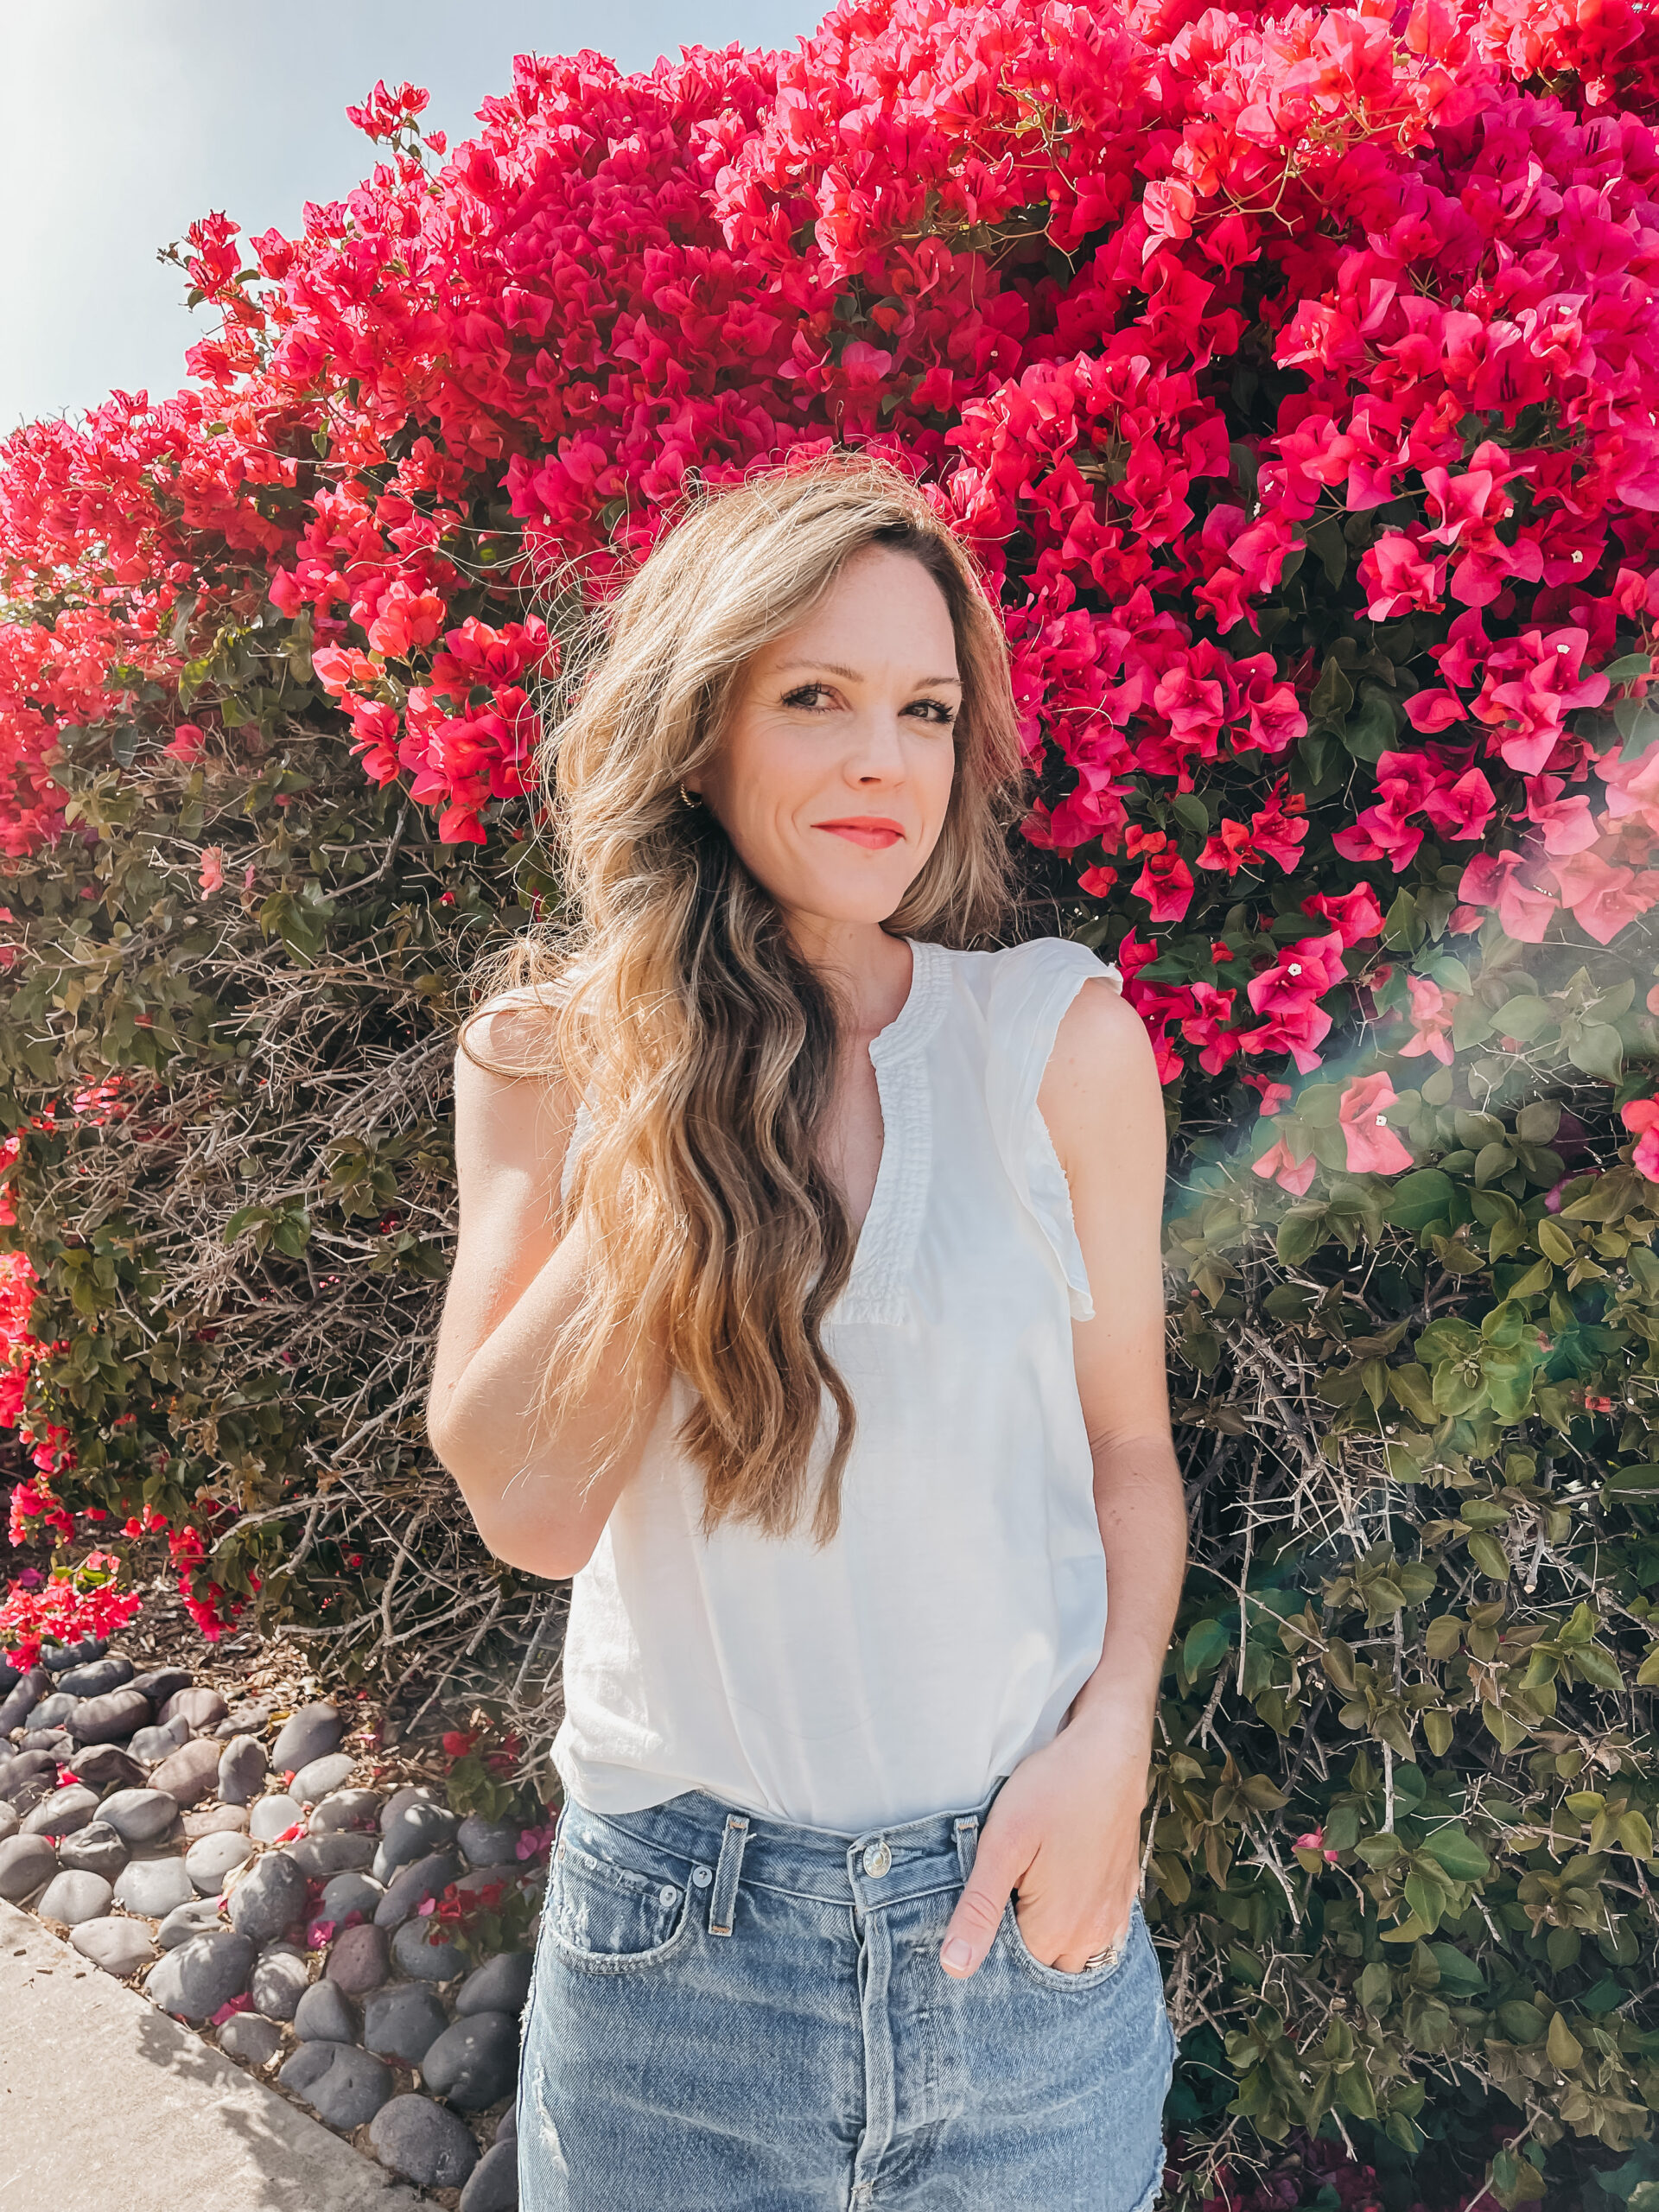
p.s. my top is j.crew (last seen here) & my lipstick is laura mercier in “antique pink” with “baby doll” lipgloss layered on top.
shop the products:
7