after looking for the perfect tv tray for months and coming up short (mostly due to sticker shock), S and i decided to make our own. so with the help of the girls over at the blog a beautiful mess and their easy tutorial, as well as the fine retailers of home depot, target, and joann’s fabric, we constructed two lap desks perfect for a variety of uses.
and the best part is -there was no sewing required!
DIY lap desk (adapted from a beautiful mess)
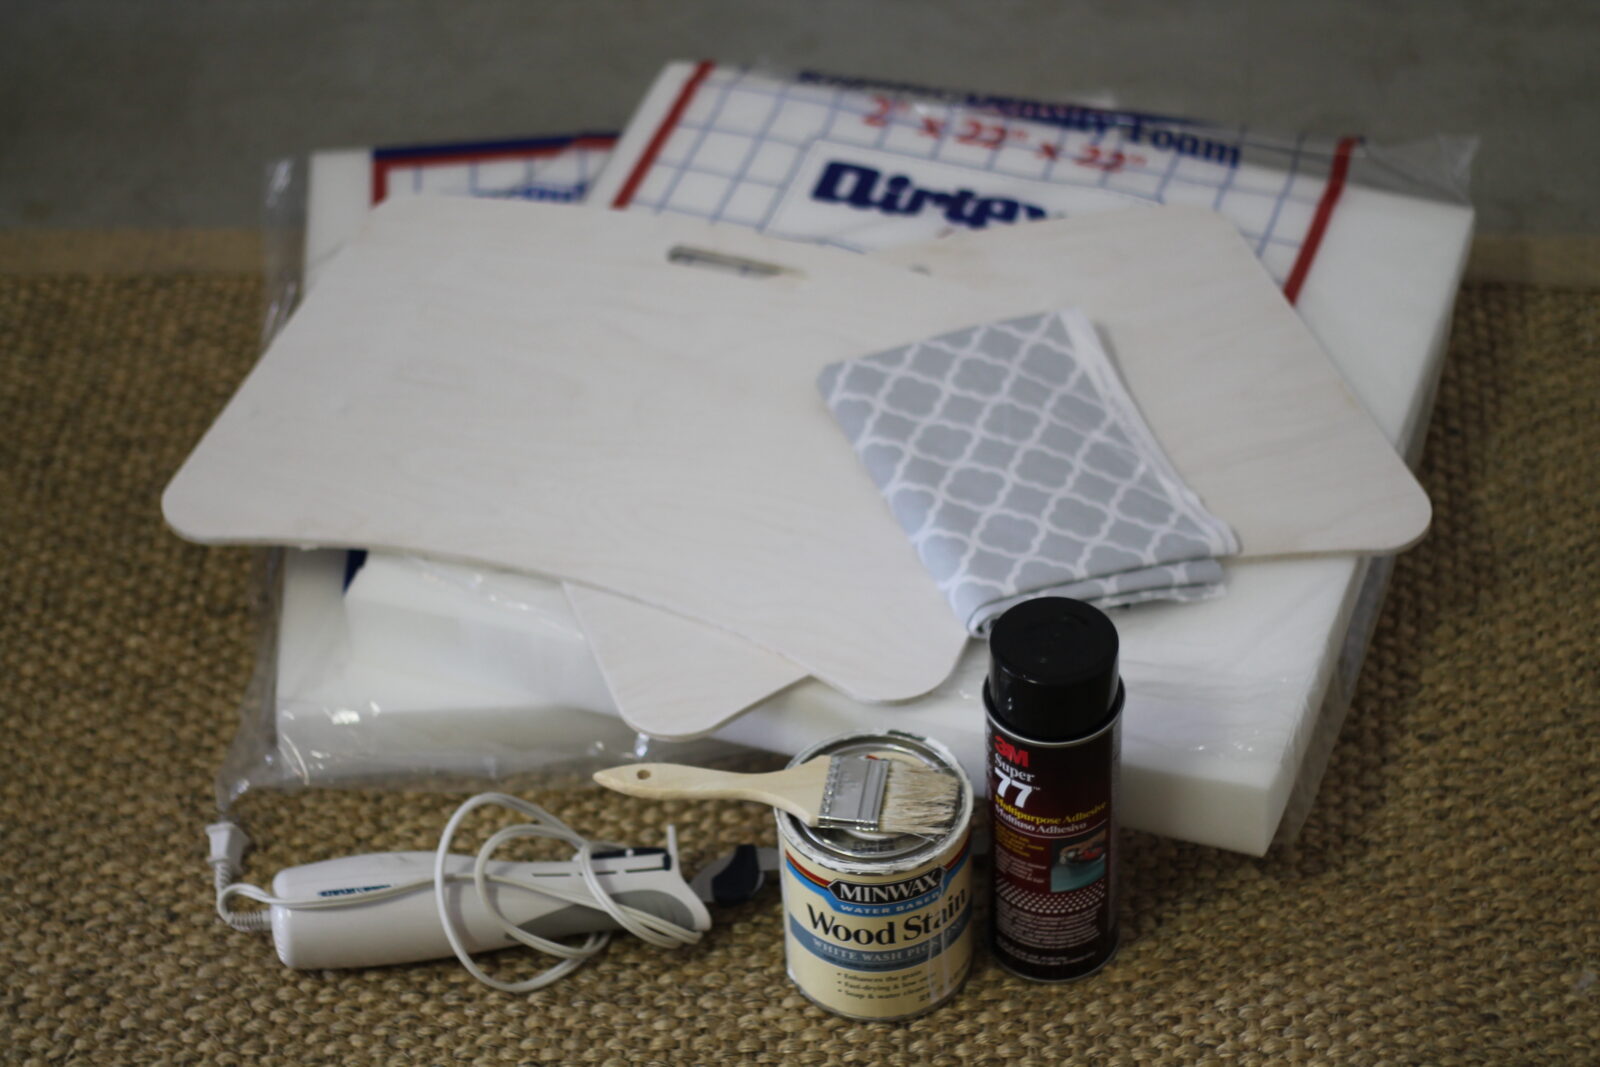
supplies:
wooden lap desk top (i bought ours at home depot)
foam square (we bought ours at joann’s fabric)
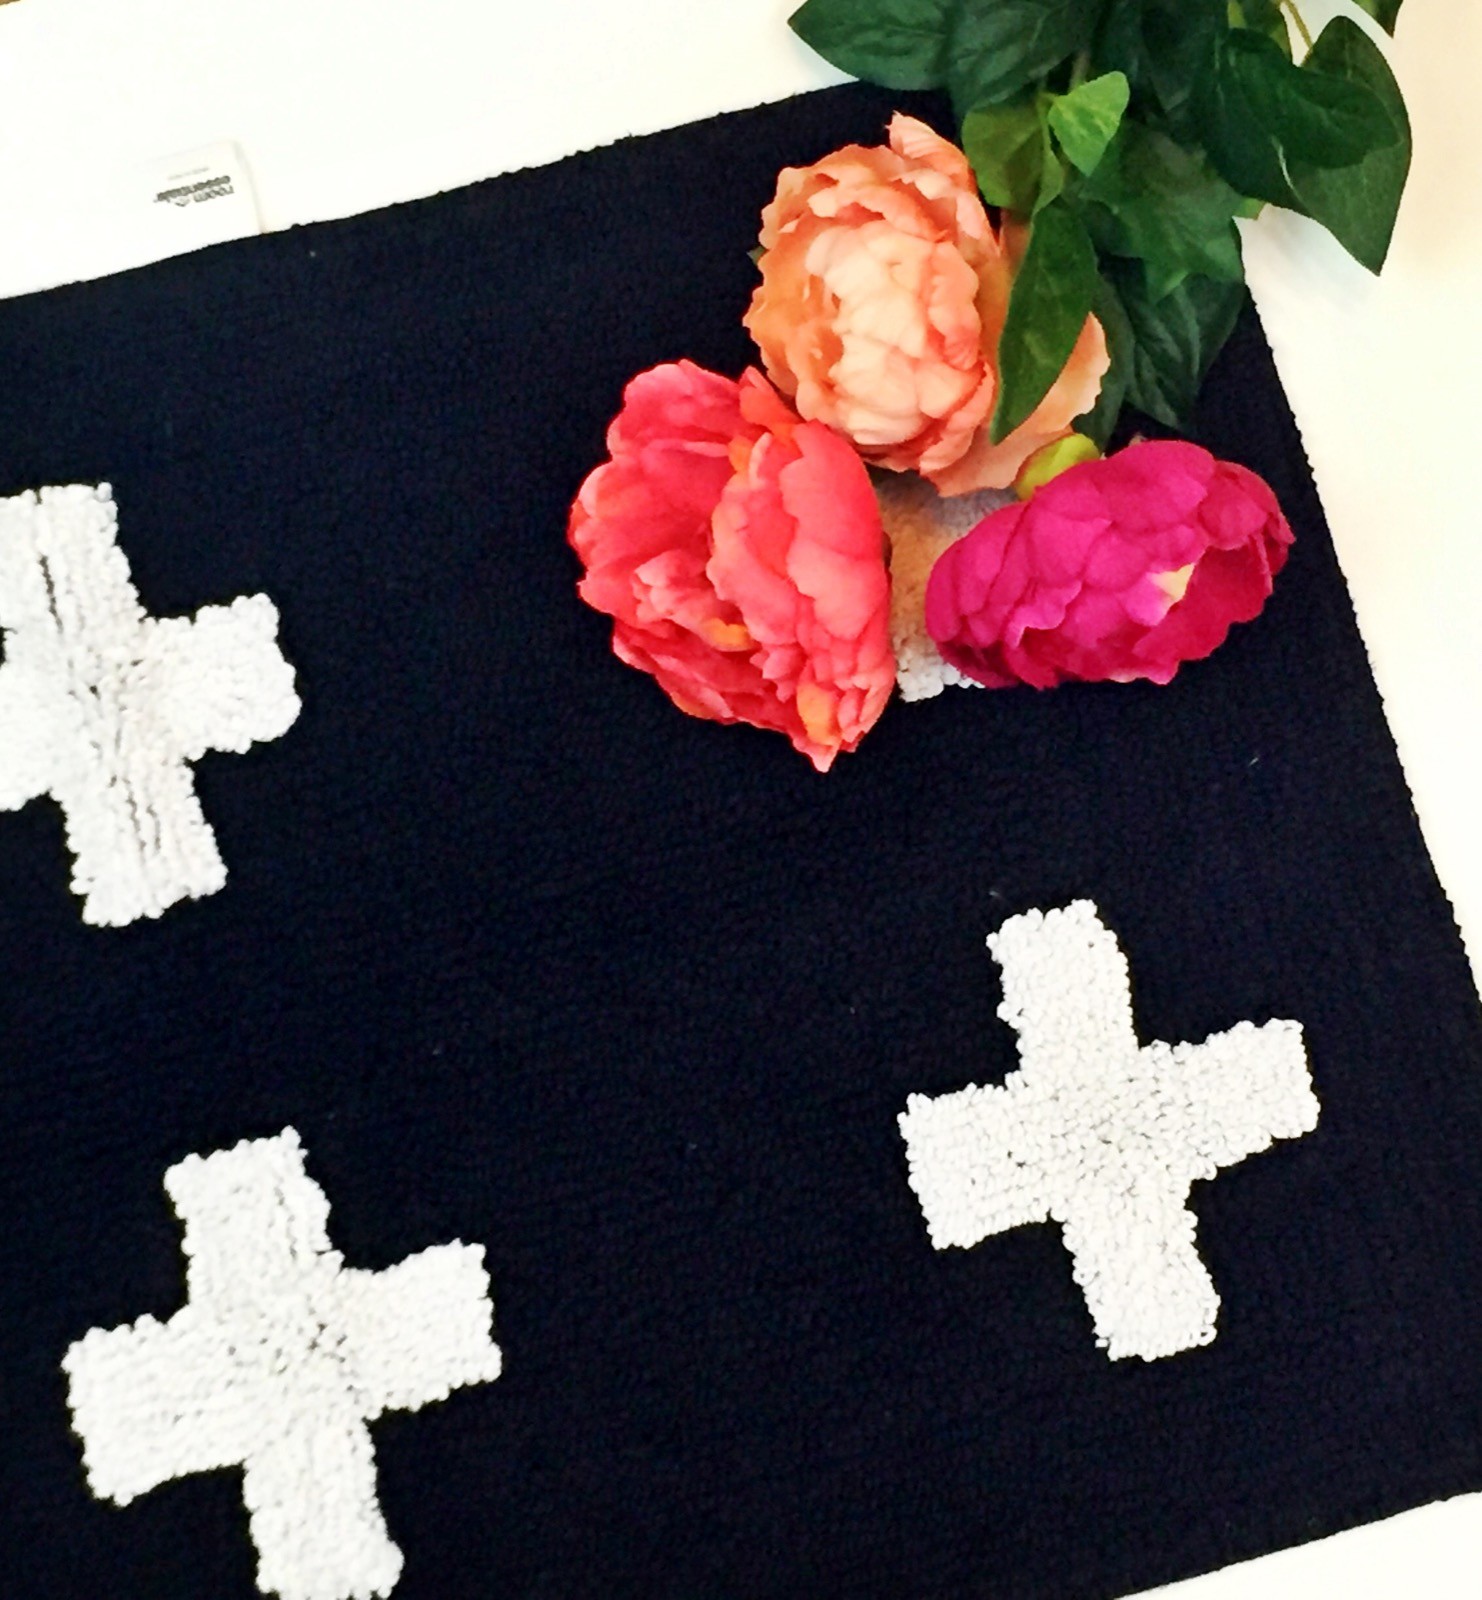
fabric (1/3 to 1/2 a yard, depending on your lap desk top size)
trim (we used double faced ribbon)
scissors
spray adhesive
electric knife (to cut foam)
staple gun and staples (make sure they are shorter than your lap desk top)
wood stain and brushes (optional)
directions:
if you’d like to stain your desk top (you could also leave it au natural), i’d start with this step first. give the desk top a good coat (or two) and leave them to dry for a few days (we used leftover whitewash stain from my sawhorse desk).
after the top is dry, use one to place atop the foam square and trace around the shape. then, carefully cut with an electric knife or other sharp tool for cutting (or outsource this part to your loving boyfriend who is much better equipped to use sharp objects than yourself), around the traced design to produce a desk top-shaped foam piece. use spray adhesive to attach the foam piece to the desk top and leave it to dry for a few hours.

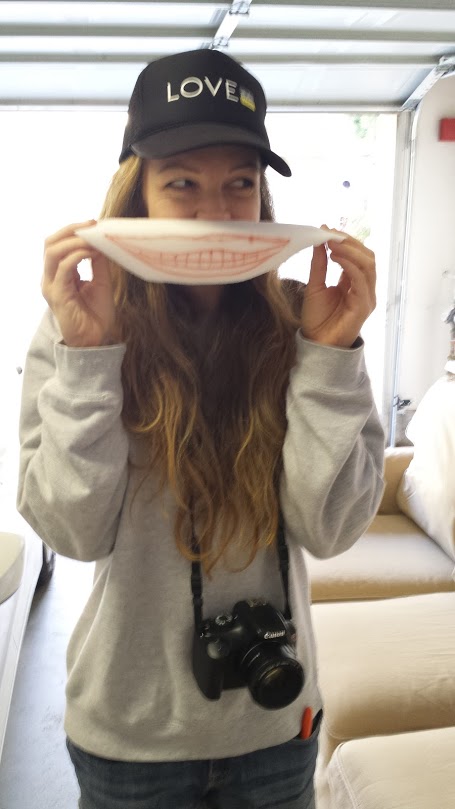
don’t forget to draw a mouth on a piece of leftover foam and pose for a picture.
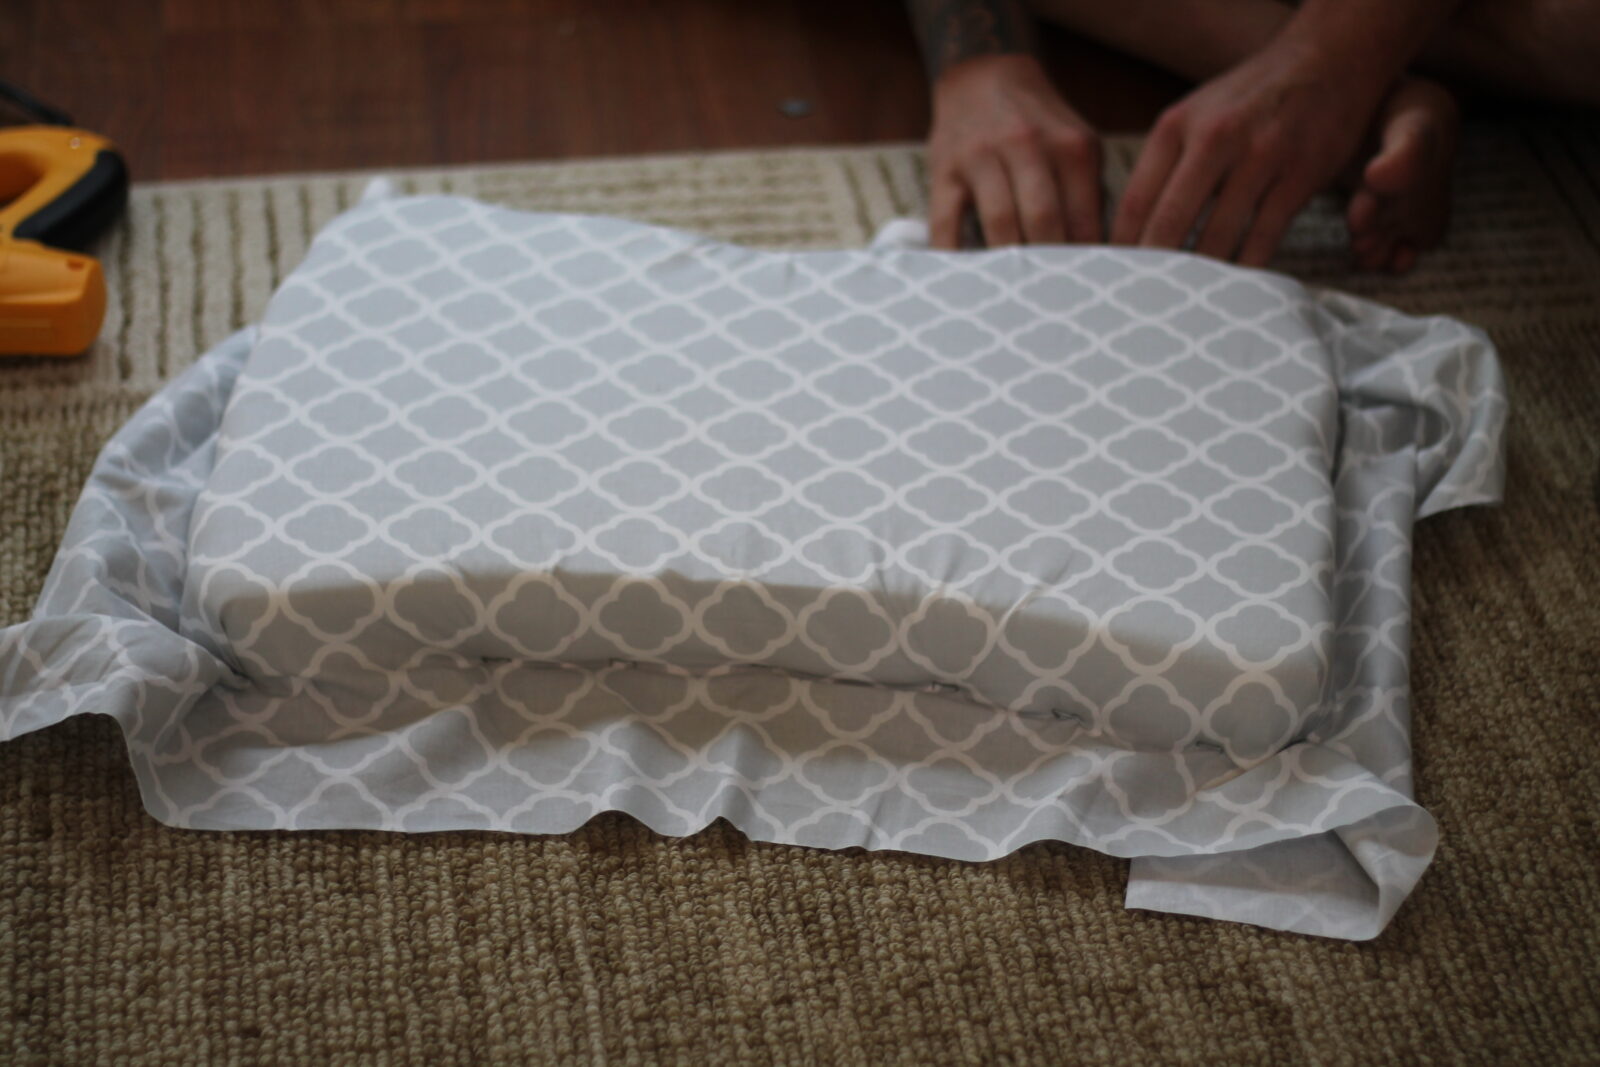
next step is to get your fabric ready for covering. pull the fabric tautly around the foam-side of the desk top and secure with staple gun along the perimeter. the key is to more securely attach the foam to the wood piece without the staple going all the way through. work your way around the shape until the fabric is fastened. trim off excess fabric, including the portion covering the wooden handle.
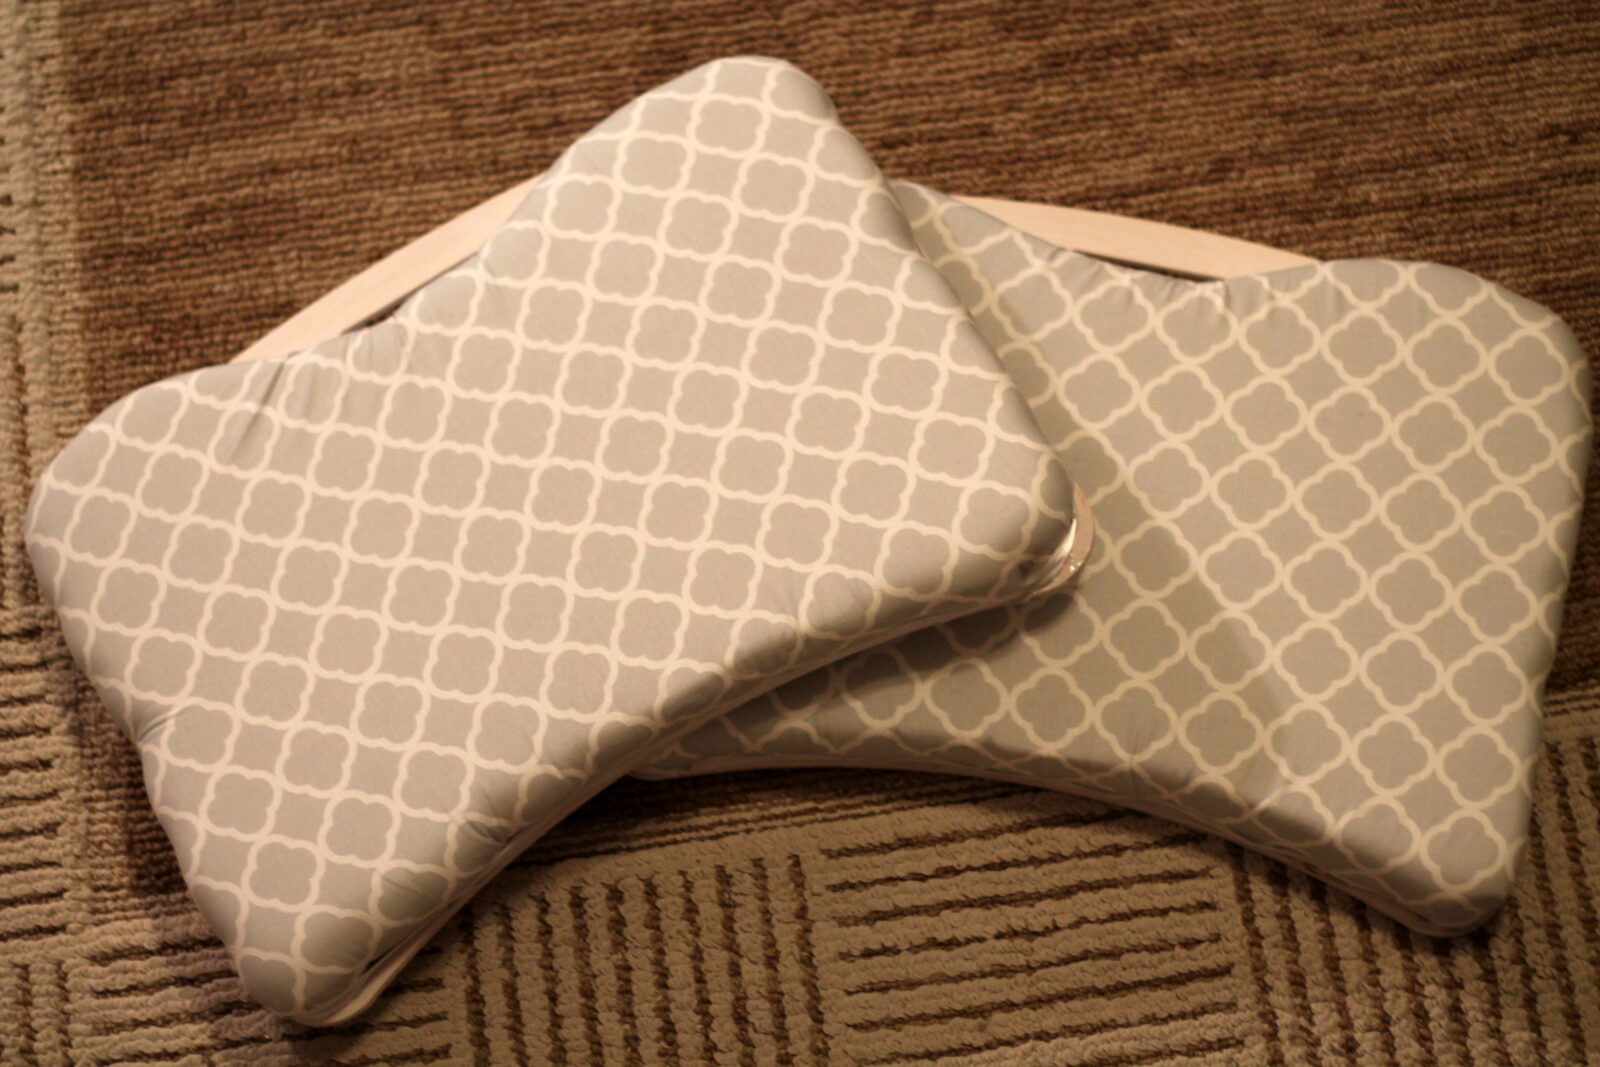
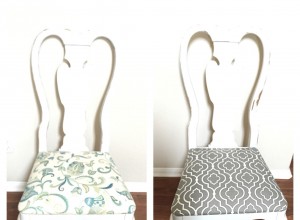
finally, trim! trim is the perfect way to not only make this piece feel complete, but to more importantly, cover up the frayed fabric edges and staples. we chose simple white ribbon from the same store we purchased the fabric from. using a glue gun (or fabric glue), follow along the edges of the desk top (where the foam meets the wood) with beads of glue and carefully cover with ribbon.
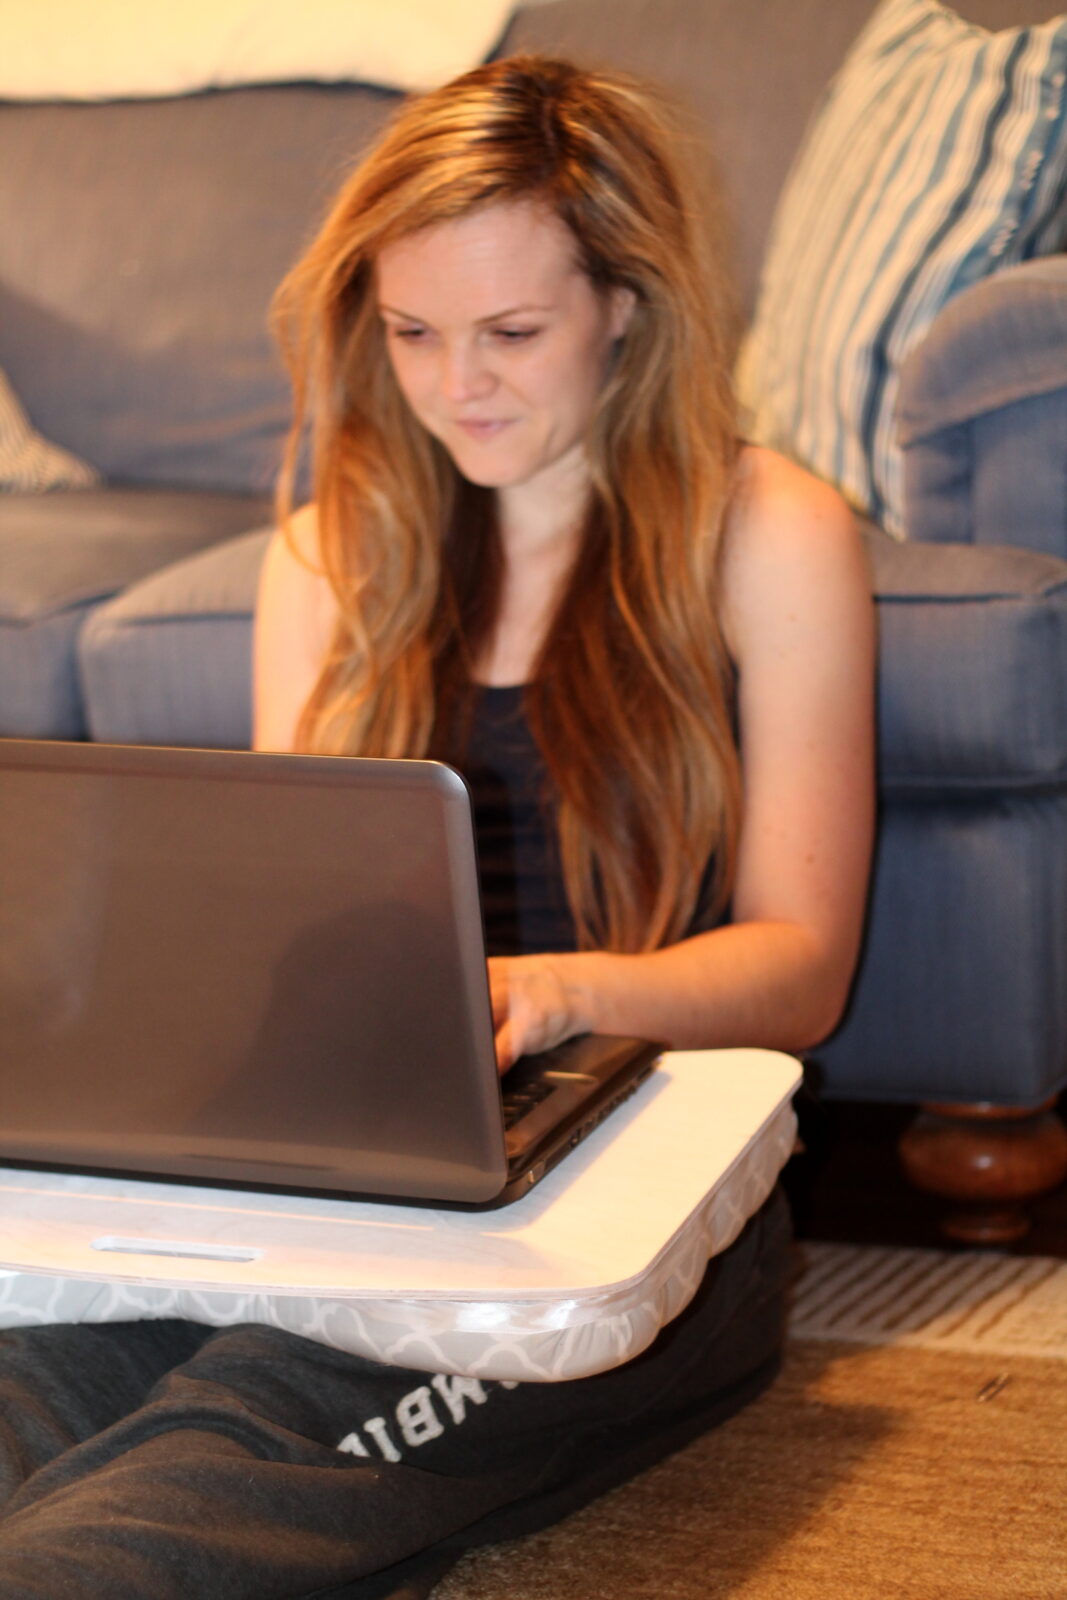
voila! you did it! your very own DIY lap desk to use in a variety of ways -as a table for your lap top, your magazine, your thank you notes, or as it will probably be most utilized in my house -as a dinner tray!


April 15, 2015
Great project! I like the foam smile the best
April 15, 2015
Very nice. You both are so creative.