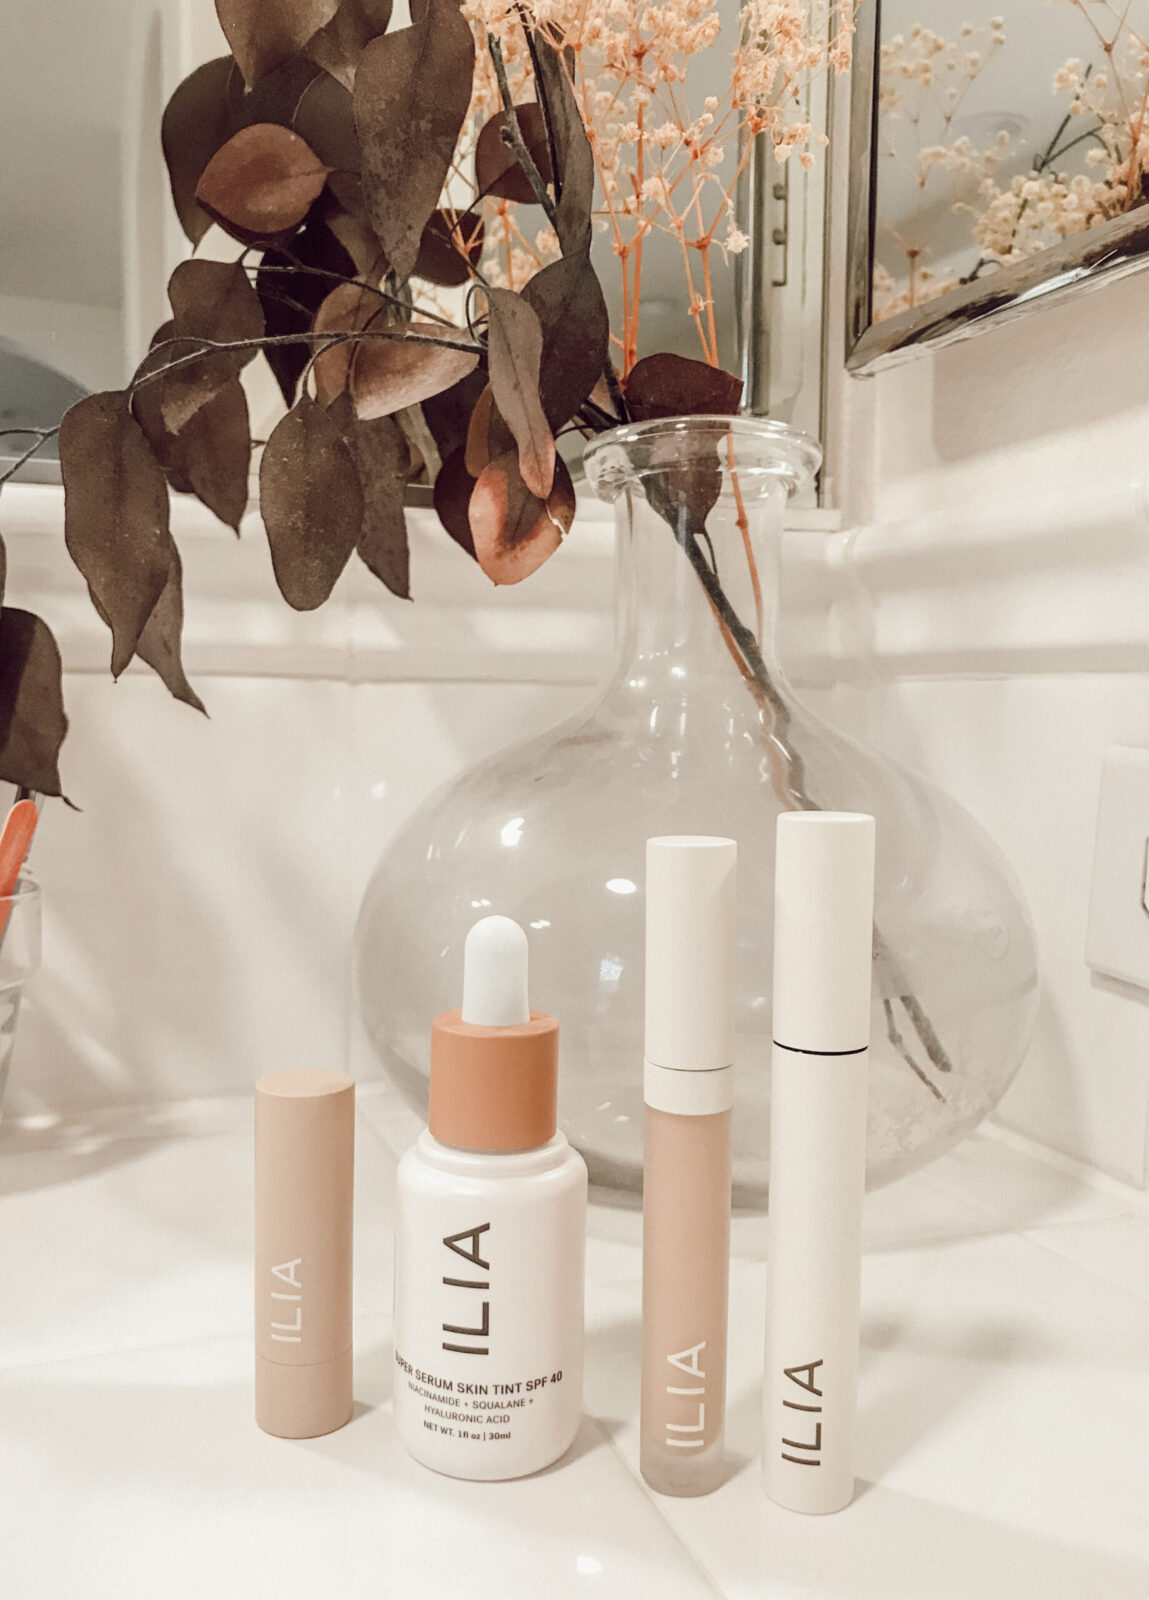
in the final days leading up to our wedding, i did my best to get myself in tip top shape for the big day -i took my vitamins, drank lots of water, took four studio barre classes a week, attempted to get plenty of sleep… and in the midst of making the laundry list of final appointments (highlights, eyebrow waxes, facials, oh my!), i realized something: my teeth weren’t nearly as white as they used to be (aka before i started single-handedly keeping starbucks in business). and for as many photos as S and i took on january 21st, i figured i should probably do something to ensure my smile was as sparkling as the champagne with which we toasted.
while whitestrips are great in a pinch, if i wanted to guarantee a perfect smile by wedding day, i figured i might need to take stronger measures and began researching alternative teeth whitening services. and then like a little gift from the tooth fairy, smile brilliant reached out to me inquiring if i would like to try out their at-home whitening kit.
at this point in my life, teeth are kind of permanent (except for the few baby teeth that are still holding on for dear life) so i was sure to do my research on the product before agreeing to the collaboration. after reading review after glowing review and learning that they have a desensitizing gel specifically targeted to those gals or guys with sensitive gums (like me!), i happily accepted the offer and braced myself for a whiter, brighter smile a la ross gellar from friends. well maybe not quite that bright.
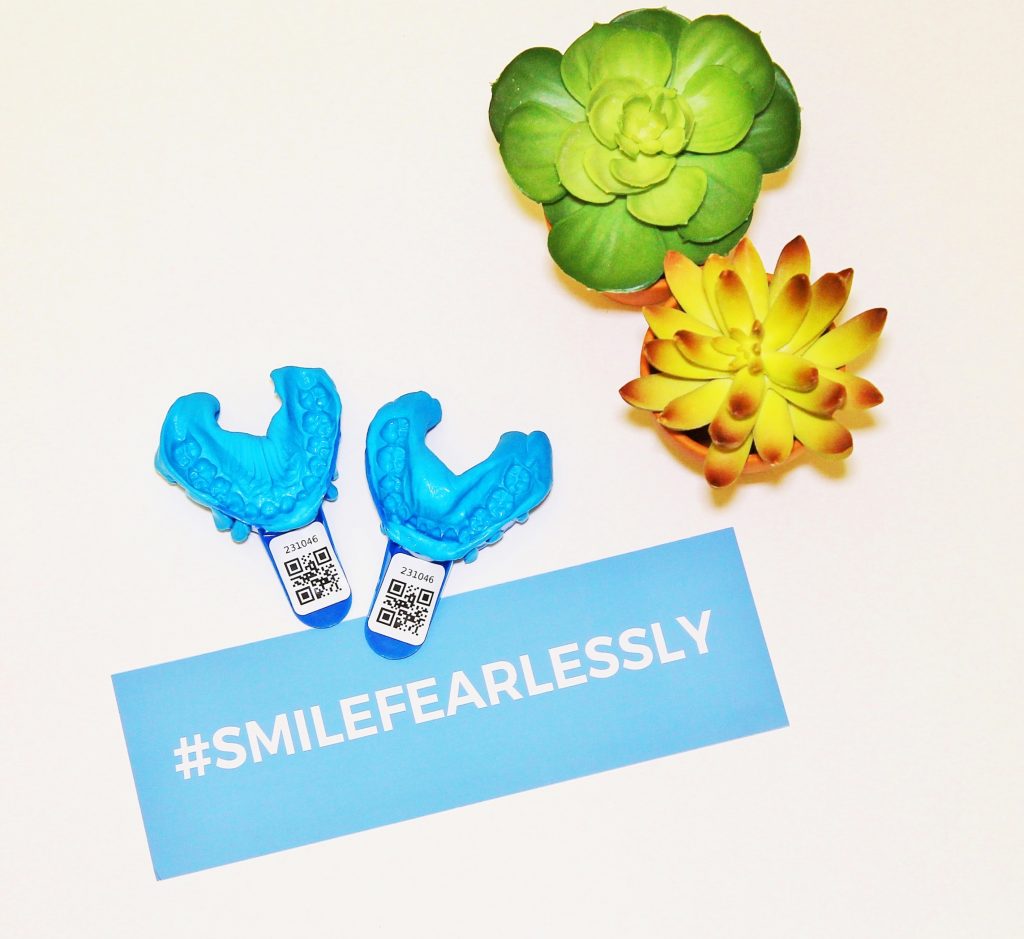
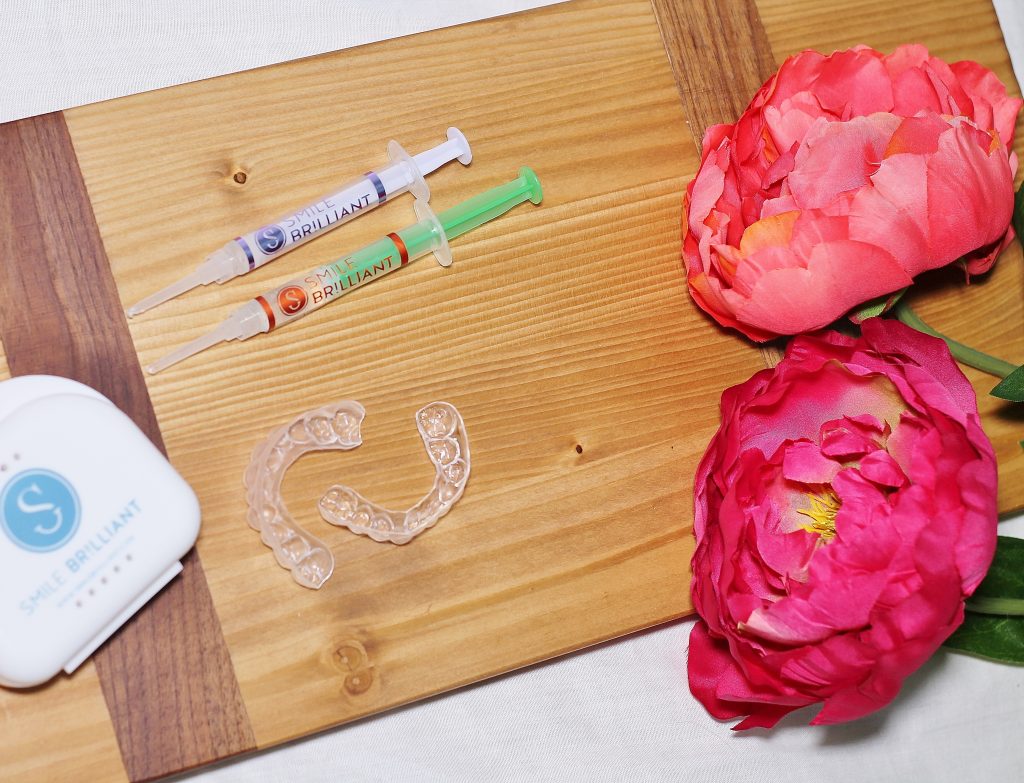
once the whitening kit arrived, the first step to complete was making the impressions. these molds of my teeth would be used to create my whitening trays. this process definitely brought back memories of the orthodontist office when i got fitted for retainers after my not one, but two rounds of braces. thankfully this experience was a lot less traumatic. smile brilliant made the process fairly seamless, offering a comprehensive five-step list of instructions which took no more than 10 minutes to complete. after the impressions had been made, i let them sit for the advised 30-minute time period before washing them with water and placing them in the pre-addressed padded envelope to send back to missouri, where the company is based.
about a week later i received back my custom-fitted whitening trays. they were made with a malleable plastic which felt comfortable on my teeth. eager to begin the journey to pearlier whites, i wasted no time in starting the process. the kit came with four syringes each of whitening serum and desensitizing gel. much like the instructions for making the impressions, the tips for a successful whitening session were extremely easy to follow. i especially appreciated the range in time frames for wearing the whitening serum versus the follow-up desensitizing gel. smile brilliant recommends whitening anywhere from 45 minutes to three hours, with 15-20 minutes of desensitizing immediately after (brushing your teeth in between). since i have extremely sensitive teeth and wasn’t sure how they’d respond to the product, i opted for the shorter end of the time spectrum, figuring i could build up the length of time as my teeth acclimated to the formulas. i also decided to take a rest day in between whitening sessions, just to give my gums a break. over a span of approximately a month and a half, i had eventually worked my way up to wearing the trays for approximately two hours, followed by a 20-minute desensitizing session. for me, the whitening process was best done after dinner, when i knew i could properly brush my teeth before and wouldn’t be eating again until the morning.
again, the kit comes with two guides-one for whitening and one for desensitizing with step by step instructions to ensure a successful (and painless) experience. like with most beauty endeavors, it’s always best to consult a professional prior to embarking on a new treatment.
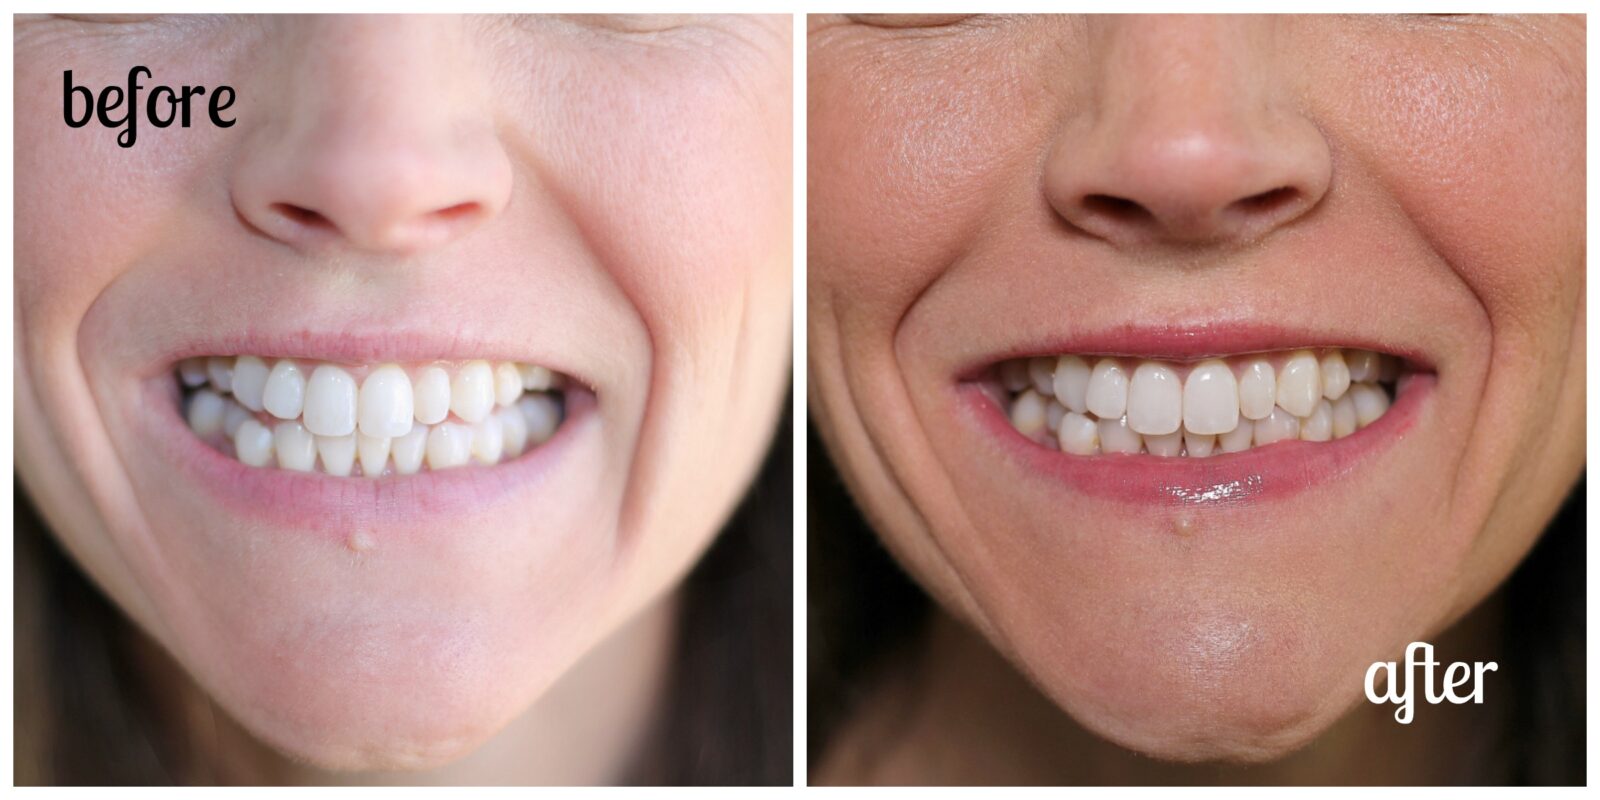
i used up all of the whitening and desensitizing syringes just days before the wedding, ensuring i had the whitest smile possible for the big day. and when all was said and done, i was really pleased with my new whiter, brighter smile. so if you’re like me and whitening for a special occasion, i highly recommend planning out your designated whitening days accordingly so you finish right before the big event.
even if you’re not planning for a special occasion, whiter teeth sounds like the perfect resolution to add to your list for 2017! with how simple smile brilliant makes the entire process, it’s a resolution you’d be certain to achieve.
here are two ways to snag a kit of your own:
- enter smilebrilliant’s generous giveaway*
- visit smilebrilliant.com and enter “shawnaleeann” at checkout for 5% off your next order!
*giveaway open to UK, australia, canada, and usa residents
this post was in collaboration with smile brilliant.
2